We all wish we could have studio-reminiscent photos for our blog posts, etsy listings, ebay items, etc.
Well, you can always buy a lightbox like this one, but that’s $2000!
Here’s how to build an extremely functional lightbox using things that you probably already have around the house. I built this one out of stuff that I had laying around, so for you it might be as low as $0!
Materials:
- Cardboard box
- Large paper (the thinner the better)
- Cutting tools
- Some desk lamps and/or flashes
I had a huge roll of white paper laying around, and the thickness was just the same as my lightbox’s windows.
You’re going to want to cover two opposite sides of your box with paper, as the third you will be taking pictures through.
Take your paper and cut it so it is barely bigger than the windows you cut in your box, then tape them so they completely cover the two opposite windows.
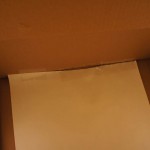
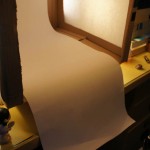
3. Add the back
Now it’s time to add the backdrop. I cut a strip of my roll of paper, but you might have to take some pieces of paper together – unfortunately that might mean that you have some pieces of tape in your photos.
Take the paper and tape one end to the back top edge of your box. Push the paper inside the box so you get a nice, smooth curve at the back bottom edge.
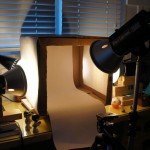
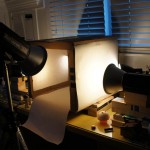
4. Add lights, finish up
The front window still has an edge at the bottom, which will probably get in the way of your shooting. Cut that little edge off so the front window is open.
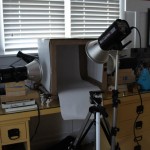
Now, you just need to add some light. I have some photography modeling lamps around, so i propped those up and put them on each side. In addition, I got a desk lamp for each side and put in 100w bulbs. For the final touch, I put a light right in front so that the front was filled in as well.
5. Shoot!
You’ll probably want to set your camera on manual, then put it in a tripod. I’m using as wide as an aperture as possible, as low as an ISO as possible, and change the shutter speed so that you get the right light.
This will give you the smallest depth of field and littlest amount of grain, and as long as your camera is on a tripod the long shutter speed won’t blur anything. If possible, set the white balance on your camera by finding the setting for white balance and set it to custom, then take a picture of your white backdrop. Most DSLRs have this feature, but if your camera doesn’t then just set the white balance to Incandescent.
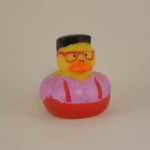
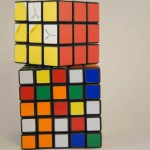
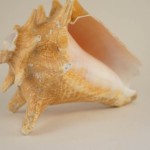
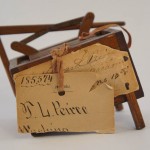
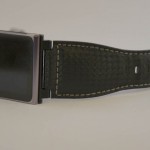
Here’s some photos.