Photojojo Mini Lenses


The iPhone can take some pretty dang good pictures. In fact, many different phones can take mind-blowing shots. But your little phone can do even more if you treat it to these mini-lenses from Photojojo!


Contents/Installation

There are three lenses available from Photojojo: 2X telephoto, 180 Fisheye, and a 0.68x wide/macro lens. I won’t go over individual pricing, but the whole pack is $50.

Installing the lenses is painless. In your package you’ll get a few tiny, metal magnetic rings. Undo the plastic on the adhesive side and stick it around the lens of your device. If you have an iPhone, however, you should probably put the ring on a case; the sleek glass doesn’t play well with their adhesive.

Now to use the lenses, you just attach the lens to the metal ring and it magnetically locks on. Neat!

2x Telephoto

For those times when you want to get closer to your subject, the 2x telephoto lens will do exactly what you’d expect. Unfortunately it will cause a tiny bit of distortion, but not enough to make a big difference.

Without, With

As you can tell by that comparison, the lens does a nice job of zooming in, but has a bit of distortion (visible near the door handle).

Fisheye

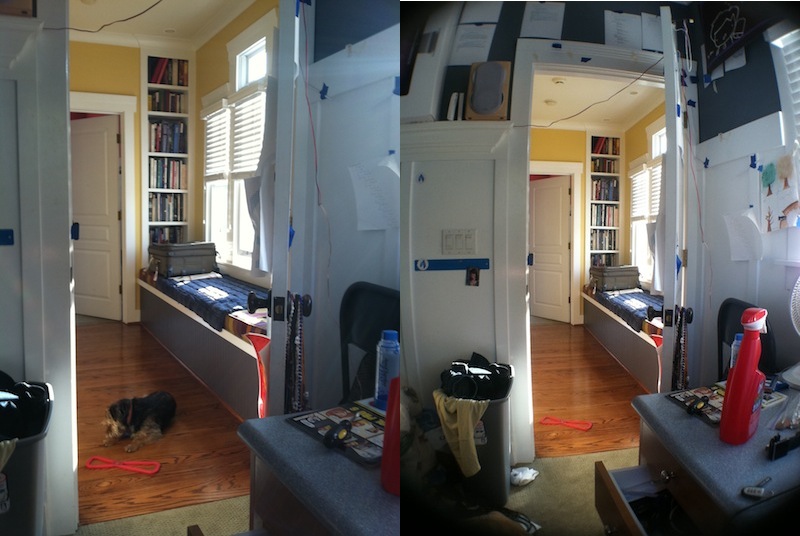
This lens I believe is my favorite. It can capture just about everything you can see without turning your head. If you want to really capture an entire scene, this is exactly what you need.

Without, With

Pretty cool, right? Unfortunately, this lens causes a particularly noticeable amount of vignetting, but I think that it adds a nice effect. If you want to get rid of it, you can always crop it with whatever application you desire, however you’ll end up losing a bit of the image.

Wide Angle / Macro

This lens confuses a lot of people. Is it wide angle or is it macro?!

Alone, the magnetic part of the lens is just Macro. However, there’s an adaptor that screws in to the macro lens to convert it to a wide angle lens.

The macro lens doesn’t zoom in at all. It just allows you to focus WAY closer to objects. Here’s a comparison – remember, I took the first picture as close as I could while staying in focus, then I took the second as close as I could while staying in focus. This lens does NOT zoom.

Without, With


Pretty cool, right? You can get ridiculously close to capture textures that previously went unnoticed. On the second picture, I’m holding my iPhone a tiny bit less than an inch away from the keyboard.

The wide angle addition to this lens isn’t very fancy, it just makes the picture a tiny bit wider. It will cause some straight lines to bend in odd ways, but it still comes in handy when wanting to capture wide shots without going crazy with the fisheye.

Without, With

Doesn’t that doorway look kind of round? As you can tell, it makes the picture a bit wider but can’t capture the amount (and distortion) of the wide angle lens.

Cool uses

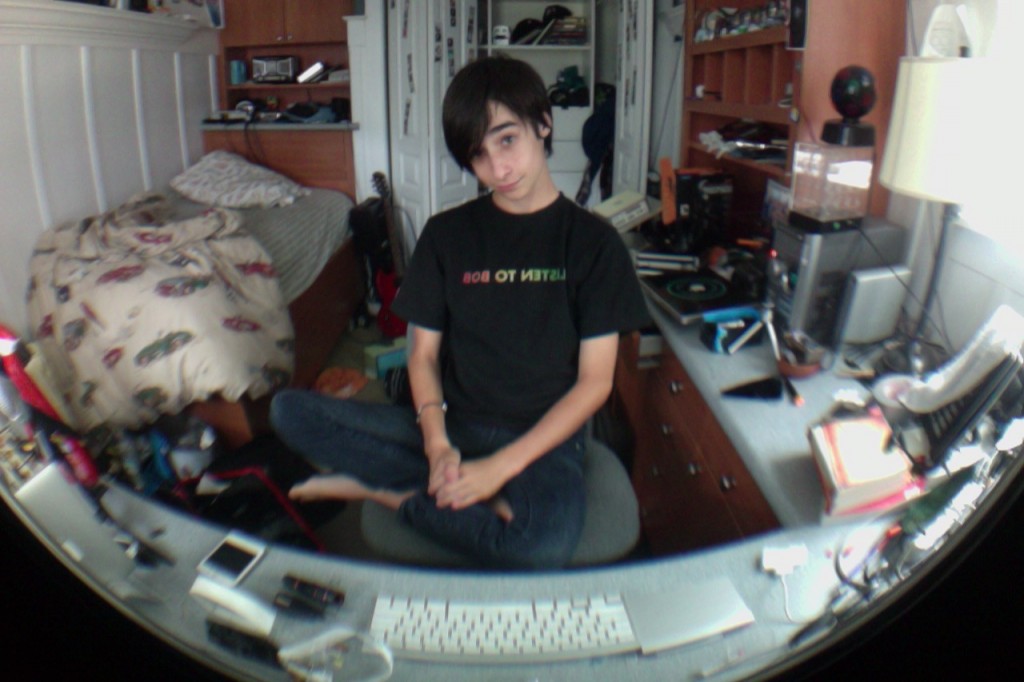
Yup, these work great with a phone camera. But there’s one use that I recently found – your webcam! It’s a small camera, just about as small as the one in an iPhone. Take a metal ring and stick it around, and you can use these lenses while video chatting! I personally have an LED cinema display, and although it makes my screen look a little funny, the results are totally worth it.

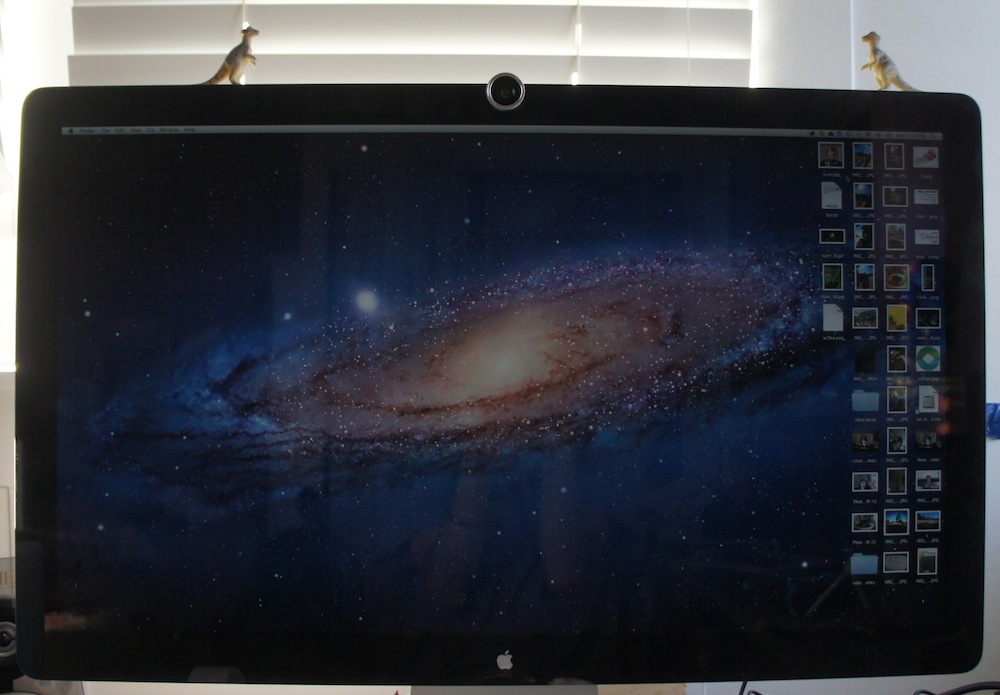
Here’s the display:

Ha! By the way, those things on top of my monitor are dinosaurs; you’ll get one with every photojojo order! I’ve ordered two things from Photojojo, so that’s why I have two dinosaurs.

Here’s what it looks like straight on:

Pretty cool, right?

Here’s the results:

Sweet! You can even see my keyboard!

Conclusion

These lenses are quite handy, and because they work with anything you don’t have to worry about compatibility. The whole set of lenses is $50, and if you’re interested click here to be redirected to the photojojo store!

DIY $5 Lightbox

We all wish we could have studio-reminiscent photos for our blog posts, etsy listings, ebay items, etc.

Well, you can always buy a lightbox like this one, but that’s $2000!

Here’s how to build an extremely functional lightbox using things that you probably already have around the house. I built this one out of stuff that I had laying around, so for you it might be as low as $0!

Materials:

  • Cardboard box
  • Large paper (the thinner the better)
  • Cutting tools
  • Some desk lamps and/or flashes
Instructions
1. Cut three holes in the cardboard box
Tape up the ends so you have the box, then cut out big windows on three of the sides of the box. Leave only about 1.5 inches from the edges of the window to the edges of the sides.
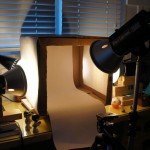
I wish I could have a picture for you, but I already built mine! You can look at the final picture at the end of this post and you’ll probably get an idea of where you need to cut.
2. Get out the paper

I had a huge roll of white paper laying around, and the thickness was just the same as my lightbox’s windows.

You’re going to want to cover two opposite sides of your box with paper, as the third you will be taking pictures through.
Take your paper and cut it so it is barely bigger than the windows you cut in your box, then tape them so they completely cover the two opposite windows.

3. Add the back

Now it’s time to add the backdrop. I cut a strip of my roll of paper, but you might have to take some pieces of paper together – unfortunately that might mean that you have some pieces of tape in your photos. 

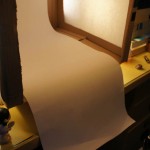
Take the paper and tape one end to the back top edge of your box. Push the paper inside the box so you get a nice, smooth curve at the back bottom edge. 

4. Add lights, finish up

The front window still has an edge at the bottom, which will probably get in the way of your shooting. Cut that little edge off so the front window is open.

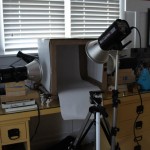
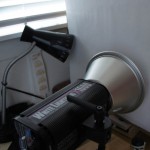
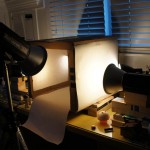
Now, you just need to add some light. I have some photography modeling lamps around, so i propped those up and put them on each side. In addition, I got a desk lamp for each side and put in 100w bulbs. For the final touch, I put a light right in front so that the front was filled in as well.

5. Shoot!

You’ll probably want to set your camera on manual, then put it in a tripod. I’m using as wide as an aperture as possible, as low as an ISO as possible, and change the shutter speed so that you get the right light.

This will give you the smallest depth of field and littlest amount of grain, and as long as your camera is on a tripod the long shutter speed won’t blur anything. If possible, set the white balance on your camera by finding the setting for white balance and set it to custom, then take a picture of your white backdrop. Most DSLRs have this feature, but if your camera doesn’t then just set the white balance to Incandescent.

Here’s some photos.


Sony NEX-5

Over the past few months I have seen so many great photo oppurtunities that I have had to miss out on because I don’t have a high enough quality camera. Yes, an 8 megapixel camera on my phone is nice, but you can still tell that it’s a phone picture. The features just aren’t advanced enough for you to get the perfect shot.

So I decided to invest all of the money I had into this camera (so don’t expect many paid reviews for a little while) and let me say, I’m happy with the results.

When you take a look at this thing, you do a double take. If you have half of the picture you see a compact digital body. The other half looks like a DSLR lens. And take a look at the whole thing and holy crap, they’re just stuck together.

Now let me note that this does provide one big problem: It doesn’t fit in any standard case. The lens will NEVER fit in a compact digital case, but the camera is flying loose in a DSLR case. Luckily it does come with a shoulder strap, but that still leaves the body exposed.

Lets get into the details.

Design

The design of the NEX-5 is an interesting concept that bridges the compact digital and DSLR worlds. It features a standard compact digital body but with a few twists.

DSLR like features:

It features a full APSC sized sensor that is found in DSLRs and also has a mirorless design. They kicked the image stabalization out of the camera body and are packing that into the lens.

Speaking of the lens, it’s interchangeable.

Now having interchangeable lenses is what really puts this camera farther towards the DSLR type cameras. The lenses are a bit smaller than full size DSLR lenses but they are still pretty large for the size of body.

Compact digital like features:

The NEX-5 is very much so also like a compact digital camera. It features a very tiny little body that without a huge lens looks very much like a compact digital. Another thing would be the lack of viewfinder and the inclusion of a gorgeous large and vibrant LCD panel.

It doesn’t feature many physical buttons, so all of the features must be accessed through contextual menus.

Overall the design of this camera has advantages and disadvantages. The camera is nice and small and light and features the flexibility of interchangeable lenses, but you lose an optical viewfinder and many physical controls.

Interface

As I mentioned the camera settings mostly have to be set using contextual menus on the screen.

One of the big catches that sony puts you through is having two menu items: one for camera and one for brightness/color.

If I want HDR, which one do I go into?? If I want to change the autofocus which one do I go into?? You have to answer these questions mostly by just playing around with the camera. Unfortunately this also means that every time you want to change around a feature you have to sort through these menus which can become a real pain if you just want to quickly change something to get that perfect shot.

But there’s another HUGE pain. This one will REALLY annoy you.

NO FLASH!!

Actually, that’s a lie. It does come with a flash but you have to attach it using the proprietary “accessory port” on the camera. So you have to plan ahad that if you’re doing night shooting to bring that little flash with you in your pocket.

Another huge pain with the interface is that sometimes a function is “disabled” but it wont tell you why. For example, if you go to the settings to change the flash but it says “this function is disabled” you know that it’s because you don’t have the flash plugged in.

But it’s not always that simple. One example would be that it wouldn’t let me enable Auto-HDR (where it takes three pictures of different exposures and combines them) and I couldn’t figure out why. All it would tell me is that “this function is disabled”. After an hour of research I finally found out that it was because I was shooting in raw not jpeg. Life would be so much easier with this camera if it could just tell you why something is “disabled.”

Features

The NEX-5 has many features that you would find on a full size DSLR.

Of course one of the big parts of that would be the interchangeable lenses. This adds a huge amount of dslrness to this camera.

It also features the usual stuff you would find on a dslr like HDR, image stabilization, raw, etc.

But a couple of things really stand out.

Set to shoot at JPEG, this camera can do a burst of 7fps. That’s pretty damn fast.

Now the amount of time that it can do a burst like this depends on the class of SD card you have in the camera and after a little while it will start slowing down.

Something that makes this camera different from the others is that it’s mirrorless. This means that there is no mirror that flips to expose the light to the CCD sensor, instead the CCD is smack in front without a mirror or anything. This was mostly done to keep the body of the camera even smaller. But instead of having a mirror it has a shade like thing that comes down and back up, which is what makes a distinct clicking noise.

And last but not least on my features list would be the screen. It’s more than just a standard screen it can do more.

In addition to being a ridiculously hi res screen (900,000 or so dots), it can also adjust. So you can tilt the screen up (80º) to take pictures from lower, and you can tilt the screen down (20º or so) to take pictures from higher. This has proven REALLY helpful, as I can hold the camera at my waist and look at the camera screen and take pictures with it without too many people noticing (creepy, but good).

Picture Quality

This is perhaps the most important thing when it comes to a camera. And let me say, I’m pretty impressed with this thing.

I took my best shot ever with this camera on auto. I didn’t stage it. I was just there taking hundreds of photos with joy. Check out this photo.

Best picture ive ever taken.

As you can tell the lens flare adds a nice effect.

Look at the quality of that picture. the colors are great, the focus is great, everything about that photo is great.

The pictures you can get out of this thing are amazing. The auto setting works perfectly for taking lots of photos without much notice. This is the kind of camera that you can bring with you everywhere you go and still take great pictures.

For more samples, check out the photoset of mine on flickr that has all of the pictures I took at a place behind my house called the NOLG.
Created with Admarket’s flickrSLiDR.
Those are some pretty cool shots. All of those were taken in auto mode.

Value

Now theres a brother to the NEX-5, which is the NEX-3. It has a less pronounced grip and is made of plastic and can’t do full HD recording, but other than that, it is the exact same.

Now the NEX-5 seem pretty overpriced. You can get the NEX with a 16mm fixed lens or the 18-55mm lens.
Here’s a pricing diagram:

NEX-3 NEX-5
16mm $500 $650
18-55mm $550 $700

As you can tell they can be a tad pricey.

One thing that sony doesn’t make clear is that if you go for the cheapest model, you won’t have any zoom!! So make sure you are careful when choosing which model you want 🙂

Go get yours at Sony

iPhone 4: Not as exciting as iPad

Today, the iPhone 4 was released. Of course it’s exciting, but it’s much less exciting then the iPad.

Why?

Because compare this picture from Gizmodo from 2 months ago:

Gizmodo's iPhone, April 19th

To this one on the apple website.

Apple's iPhone, Jun 7th

I think they’re pretty similar.

And that’s why the news of it during WWDC was.. well… almost outdated. Everybody had already seen the fourth iPhone, just unofficially. So nobody was in for much of a surprise today.

But for the iPad, nobody had a clue. People were sure it would run Leopard, have a CD drive, USB ports, and they gave us this whole different idea. Not a tablet per se, but this thing that just made sense. And who knew!

But everybody knew about the iPhone. I didn’t walk home that day grinning because of excitement like I did during the iPad announcement. Because I had already seen the thing. And I’m pretty sure you all have as well.

picplz

We all have twitter accounts.

What is twitter for? It’s for sharing what you are doing right then in less than 140 characters.

picplz is similar, but it uses pictures with tags and captions instead of just text.

Sorry guys, but the app is only available on android. 🙁

So here’s how it works:

Open up the app and you are instantly greeted with the view of your phone’s camera. Tap the camera button to take a picture. If you have foursquare configured, tap the venue that you are at. You can then tap someone/something to tag them in the photo. Then you can click edit details and enter a caption and decide which services you want to post it to (twitter and foursquare). Then click post and your picture will be posted! This is great because you can see which pictures you’ve taken at different foursquare venues. Your profile will be located at picplz.com/user/username. Check mine out here!

Apple isn’t telling us everything…

We all know that apple doesn’t tell anybody anything.

But you’d think theyd tell you SOMEWHERE (maybe on the web?) everything about a product that was already released, right?

Think again.

We all know that apple made an array of accessories for it’s new baby the iPad.

One of which happened to be the camera connection kit. This costs $29 and comes with two things: A little dongle that plugs into the bottom of your iPad with an SD card slot, then a similar one with a USB slot.

We all thought that the USB slot was for plugging in your camera. And it is! But…

So many people have told me that they can’t use any keyboard other than apple’s. WRONG! You can plug a keyboard into the USB slot!

You can also plg in USB headphones, microphones, headsets, and probably more. You can even connect your iPhone to get the photos off it, so you no longer have an excuse for no camera an the iPad! I mean, you took them on the go, and they are on your iPad, am I right?

But why didn’t apple tell any of us? Comments welcome.

How did Google get their Street View Images?

Many of us use Google Maps. If you don’t have a GPS, it is usually the #1 site you will go to to get directions. It is mostly accurate, clean free, and of course, by Google.

But one thing that many people find useful is Street view. Before they go, they can see whta their destination should look like so you arent frantically searching for house numbers when you supposedly arrived.

If you have played with Street View before, you may have found that you can drag 360º PLUS go up and down. How were these images captured?

And just in case you havent played with Street View before, click here to go to google maps and click the little golden dude over the vertical zoom bar on the left of the map to get a street view of times square, NY. Click and drag the image to pan this 360º panoramic snapshot. The truth will be revealed now…

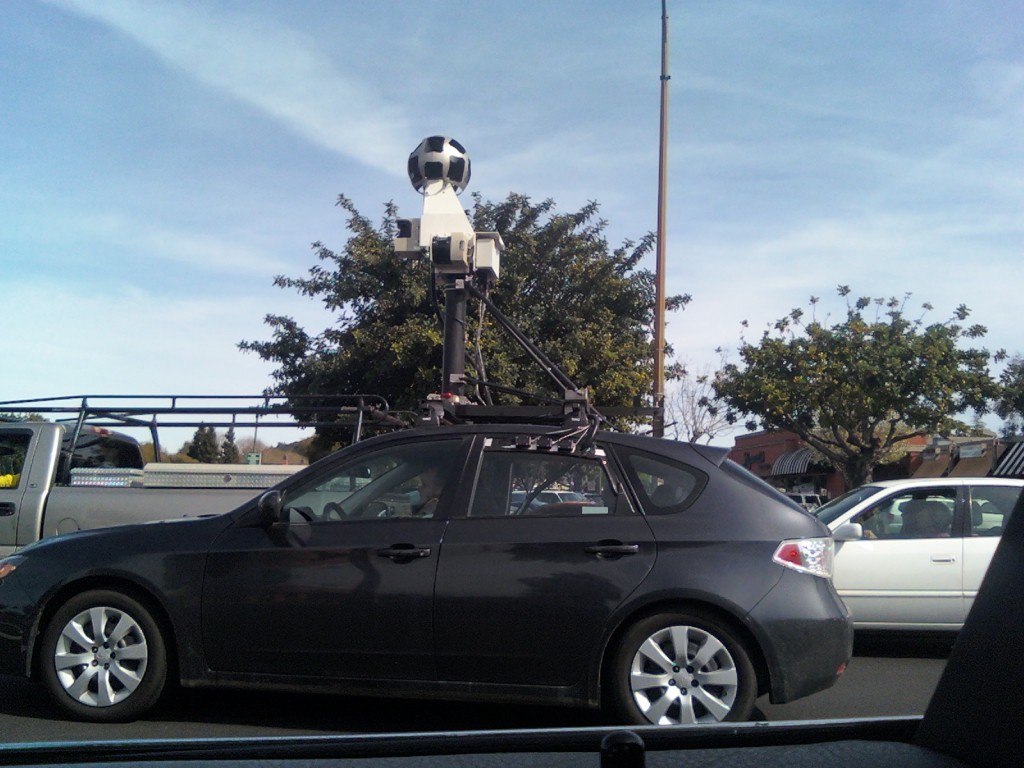
It’s a normal monday. La la, coming home from school, lots of traffic WHOW WHAT IS THAT!!

It took me a few seconds to realize t but it was the same kind of rig that google used to get their Street View shots. Here’s the pic I took with my phone:

Wow...

As you can tell, it is this sphere mounted on top of a car. the sphere has numerous cameras in little holes that all take pictures at once. Then, someone puts them all together. So if you see this UMO (Unidentified Mobile Object) around your town, start jumping around in hope that your streets may soon have street view in Google Maps.

Have you found something cool just like this, but have nowhere to post it? Don’t want to start your own blog because you might not actually have THAT MANY thoughts to post? Post it to the community for free at http://community.goodmorninggeek.com!