LED Cinema Display (27 inch)

Monitors are quite important when it comes to computer equipment. Besides speed, the only other thing that really matters is what you’re staring at all day. People often want to get a really nice, large monitor, so they have space for all of their windows and applications. Different things matter to different people – some people it may be about size, so they can fit as much as possible. Sometimes it may be color recreation, so you get the most precise experience for editing photos possible. For others it may be response time for gaming.

If you fall into any of these categories, I’d like to introduce you to the LED Cinema Display by Apple.

Wow.

27” of hi-definition, LED-Backlit glory. Sold yet?

How about a built in iSight camera, microphone, 2.1 speakers, and a 3-port powered USB hub?

That’s what I thought.

Lets take this thing a bit more in detail.

Design

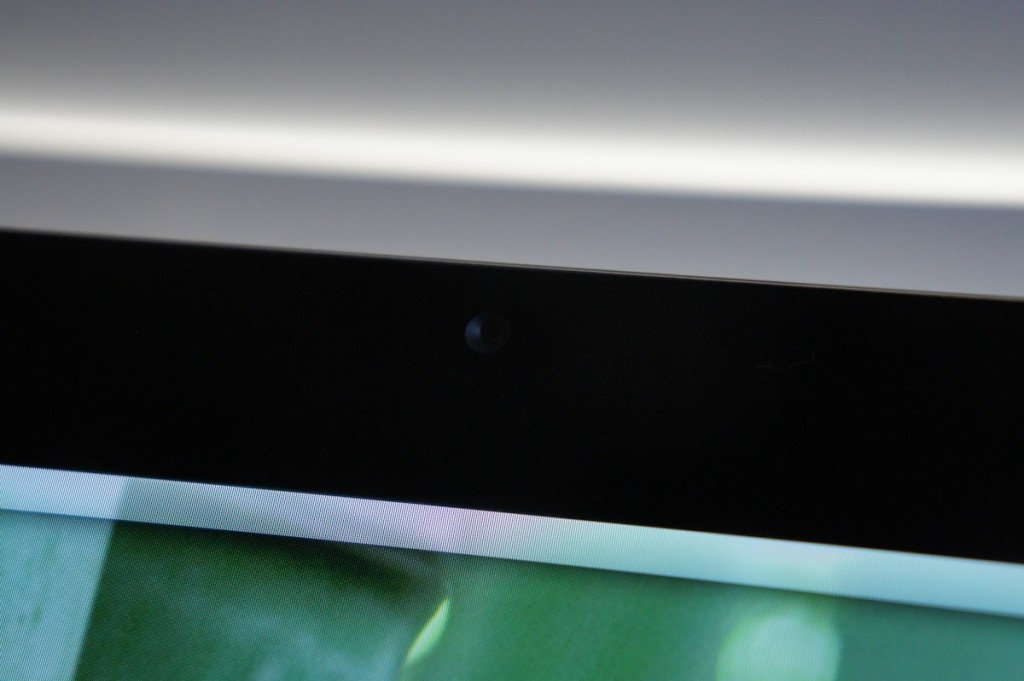
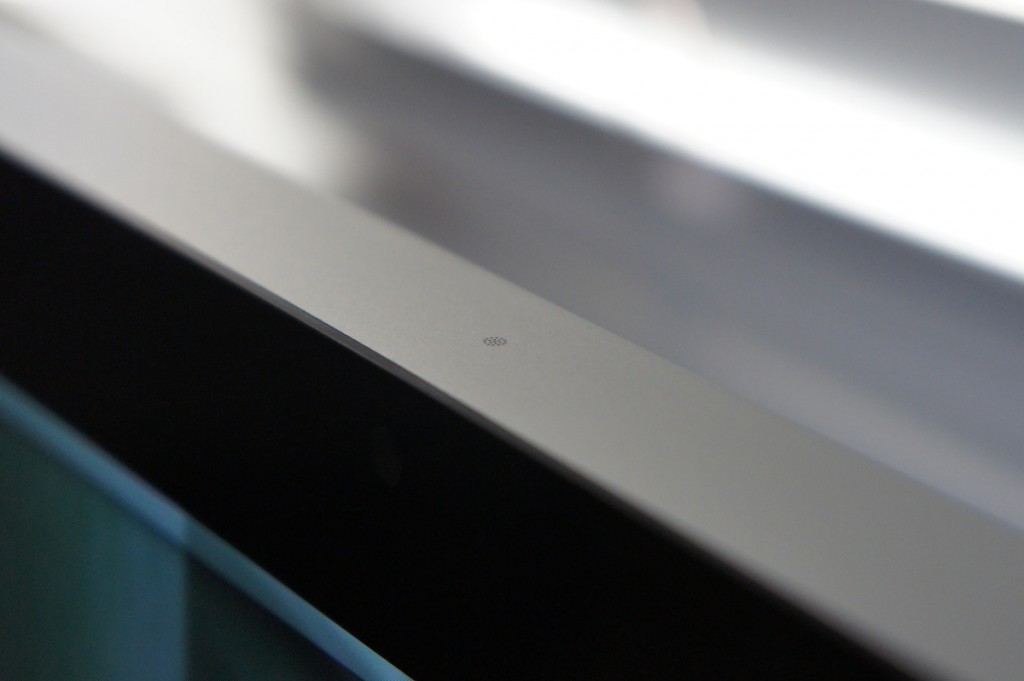
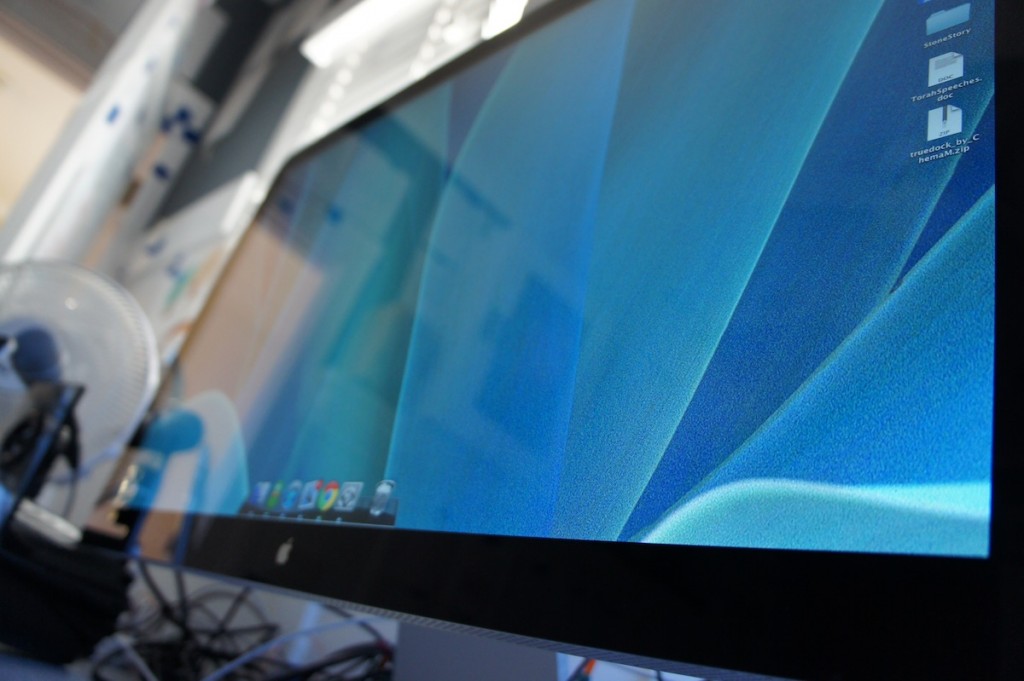
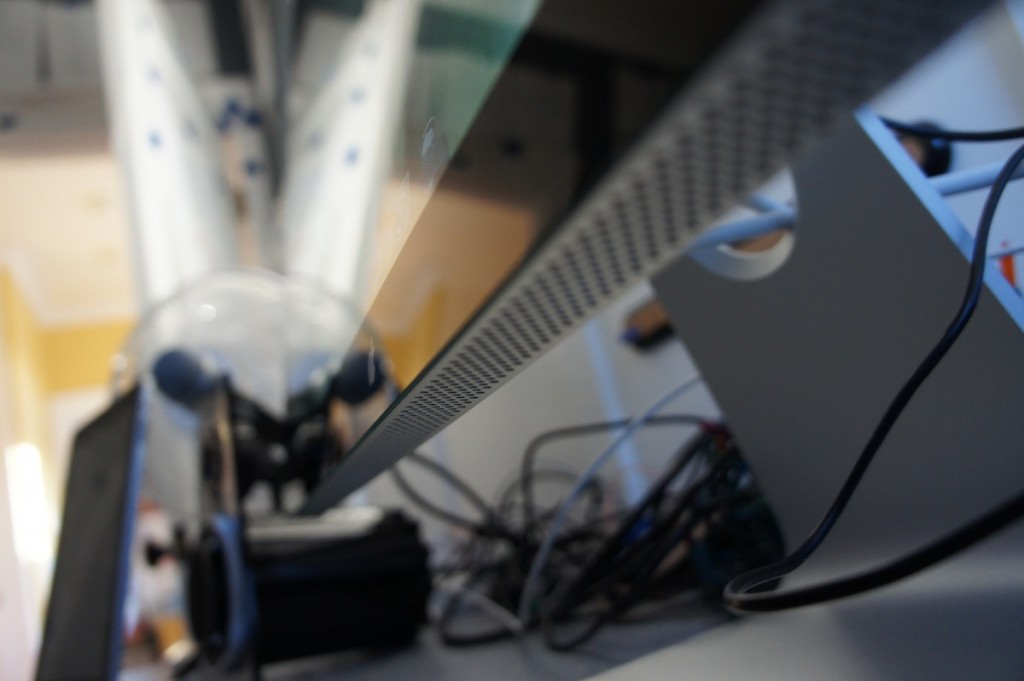
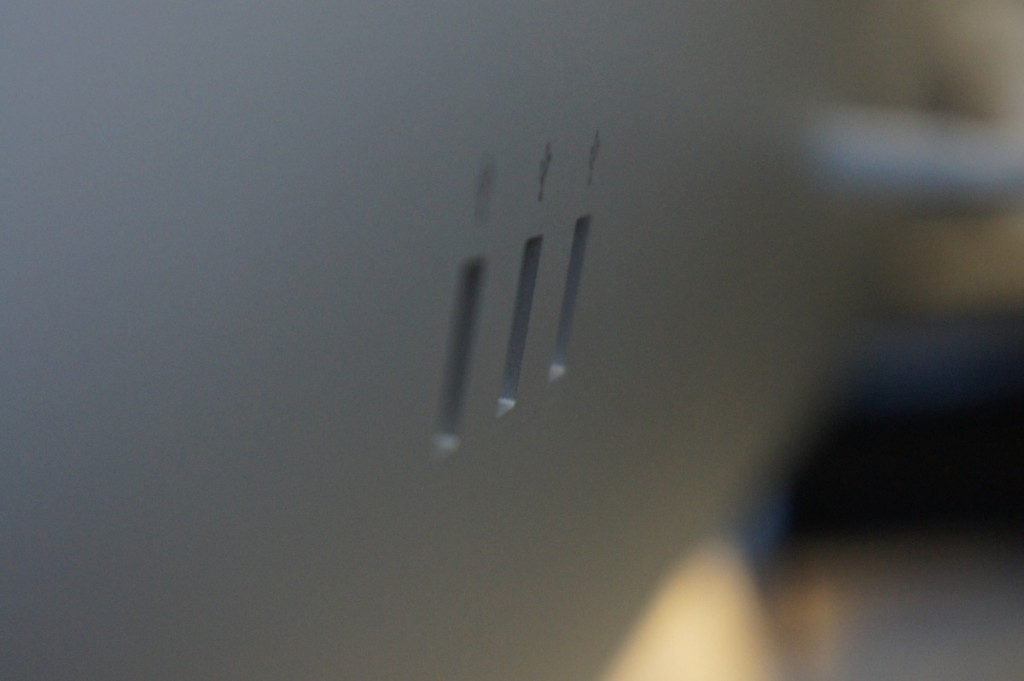
It’s an Apple product. What did you expect? The design of this beauty is simple and seamless (as usual). Looking at the monitor you are greeted with beautiful, edge-to-edge glass with a nice black bezel underneath. The iSight camera is embedded beneath this glass. Look down, and you see a thin, clean, pure aluminum stand. On the top, you find a very small grid where the microphone sits. On the back, you find two cables coming out, and 3 USB ports. The rest is all aluminum. Wow.

Display

As I said, 27 inches of LED-backlit glory. Yes. The display is EXTREMELY bright, and at times hurts my eyes if turned up too high. The colors POP like nothing before, and the 2560×1440 pixels doesn’t do any harm either. The 12ms response time isn’t particularly impressive, but there was absolutely no ghosting in any of my tests. video play-back was clear, and the monitor boasted quite impressive, even blacks. Basically, this screen WOWS.

Extras

This monitor is a bit more than a monitor. The iSight camera works pretty well, and sends a pretty clear image. The microphone on top is a quite welcome addition, and definitely comes in handy when my laptop is closed. The quality is on par with the built in microphones in the MacBook lines. The speakers aren’t worthy of too much notice, but are definitely much better than built-in laptop speakers. They aren’t QUITE as nice as my 1300 watt surround sound system, but they will do the trick for those not so picky about their audio. The USB hub is powered, so your computer doesn’t need to be connected to charge all of your USB devices.

Setup

What kind of GMG review would this be without the setup instructions?

Unfortunately, if you don’t have a Mac built during or after Late 2008, you won’t be able to use this monitor. There are no hopes for PC users, so if you are I’m sorry for making you salivate so much just to disappoint you with the news of the incompatibility.

But if you do meet those requirements, then you’re definitely in luck!

As I said, on the back of the monitor there are two cables coming out. One of them is power, which plugs into a grounded AC outlet. The other sprouts off into three cables: MagSafe, USB, and Mini DisplayPort. The MagSafe is so that you can charge your MacBook, and you can leave your charger where it belongs: in your bag. The USB port allows the USB Hub on the back to function properly, and it also connects the iSight camera and Microphone. The Mini DisplayPort is how the video is transferred to the monitor.

Setup beyond this is pretty simple. Just plug everything in and you’re ready to go. The display automatically has the correct settings, the iSight camera and Microphone simply work, and your computer is charging. Great!

One thing I’d like to note about this display is that it has absolutely NO on screen controls. NONE. It doesn’t even give you any notification when the signal is lost, or anything along those lines. It’s either on, or it’s off. Everything else is software controlled, and you can change your preferences for the monitor in the Displays Preference Pane. The brightness of the display is controlled through the preference pane and can also be controlled using the function keys on the Apple Wireless Keyboard.

Conclusion

Overall, Wow. The monitor is beautiful with any setup, and the design of it is just plain breathtaking. Photos and videos look amazing. The brightness of the display can give me a headache. What’s not to like?

There are two main downsides to this monitor. The first would be the glossy screen. Some people may hate this screen, and if you’re using it in an area of direct sunlight, this is probably a pretty bad choice for you. The second would be the price. Very few people I know are willing to fork out $1000 for a monitor. But if you are, and you don’t have a problem with the glossy display, and you have a compatible Mac, you can stop your salivating and go take a lick (make sure you wipe your display after though).

 

Plugable USB 2.0 USB Graphics Adapter

Monitors are an increasingly popular thing. They increase productivity, allow more room for multitasking, and prices are rapidly decreasing.

The poweruser knows:

I can buy a computer with a graphics card with multiple ports on it so I can plug in multiple monitors.

But I hear:

I am going to buy a large bulky computer that i$ really expen$ive $o I can plug in multiple monitors.

So what about the people who get a laptop, and use an external monitor with it, but want more?

That would be me.

There’s only one monitor port on my computer, which was already taken.

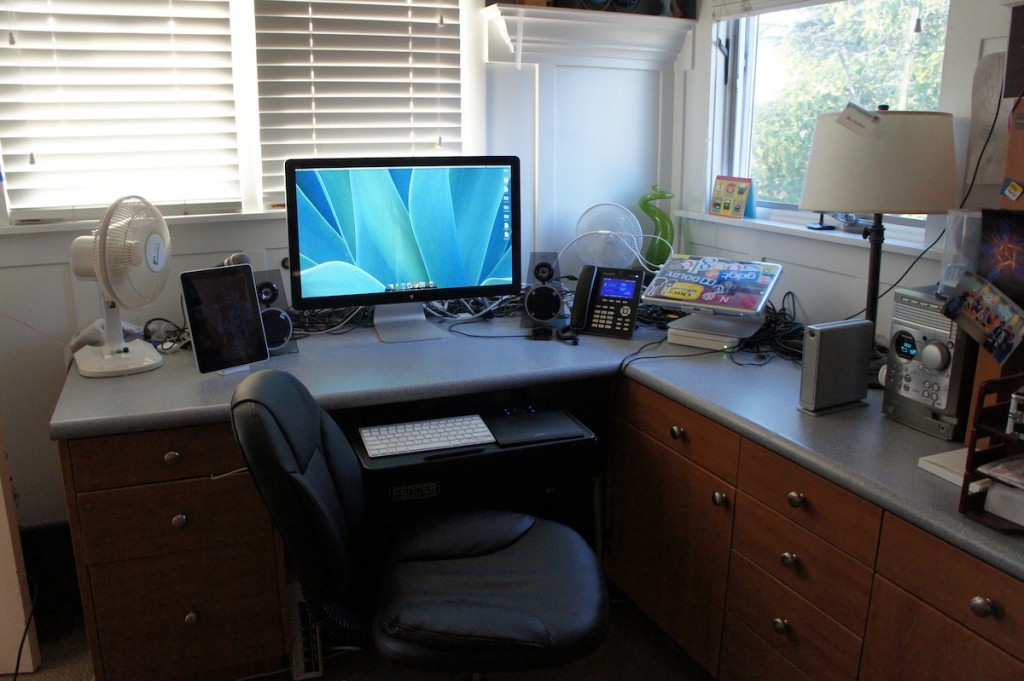
So for my third monitor, I used an old Mac Mini that I had lying around.

But the problem with this is that it was a totally different computer, so all of the logins were different, I had to use a network based mouse and keyboard sharing system, it was just terrible. And worst of all, all of the files on each of the computers were different. So when I wanted to open a document on my third screen that was on my first computer’s hard drive, it wasn’t possible without moving around the file first.

Alas, there is now a solution. And the title of this post says it all.

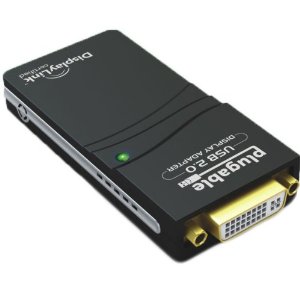
The Plugable USB UGA (Usb Graphics Adapter I’m pretty sure) works just like it should.

In the box

  • Plugable UGA
  • DVI to HDMI Adapter
  • DVI to VGA Adapter
  • Mini USB cable

Setup

Lucky for you, setup is fairly easy.

Before you do anything else, you need to go to the displaylink site and download the Mac drivers. Luckily, there is only one option for a driver, so you don’t have to make that half-minded decision on which one will actually do the trick.

After you have installed the driver and restarted your computer, you can start plugging things in.

As expected, use the mini USB cable to plug the UGA (the biggest piece) into your USB port. Then, plug in your monitor cable, using any adapters if necessary. If your monitor is DVI, then you won’t need any adapters and you can plug your cable straight into the UGA.

If your monitor is VGA, then you can just add the DVI to VGA adapter on top of the UGA, then plug your monitor into that.

Voila, it should start working. Your screens should turn blue and another wallpaper should appear on your USB Monitor.

For further configuration, just go into your System Preferences, click Displays, and click Arrangement. You can arrange your monitors so that they are extended displays and you can move your windows across all of them.

Speed and Usage

As stated in the owner’s manual, when there is nothing happening on the screen, the device itself is refreshing the display. This means that your computer isn’t working to refresh the display.

You can tell that only the device is refreshing when the green light on the UGA itself is solid. When it is flashing it usually means that something is moving on the screen. This means that your CPU is working to move every pixel over to the USB monitor. Because of this, you probably don’t want to run too heavy graphics on the display, as you will most likely overload your CPU.

Besides the CPU load, the speed isn’t perfect. It’s a tiny bit laggy, but not enough to be too concerned about. It works perfectly fine for things like facebook, browsing, spreadsheets, word processing, all that usual stuff. However, don’t try to use it for anything that involves games, videos, or a ton of pixels being constantly rendered.

However, you can’t be too disappointed. It’s not enough lag to make you not want to use it anymore (and I’m very sensitive about my lag, so that’s really saying something). Anyways, it’s going over USB 2.0 for god’s sake! It’s running a whole monitor off of two connectors (there’s four connectors in a USB port, 2 for data 2 for power).

One other thing I noticed was that the device got quite a bit hot when running. I don’t know if it was out of it’s operating range, but it was still quite a bit warm. It worried me a little bit, but it doesn’t seem to lower in performance even when warm, so I don’t think this should be too much of a concern.

And if you want more monitors, this isn’t just the end. You can have up to 6 of these connected to your computer at once (hopefully your CPU can handle it), which means that if you have a laptop with a monitor port built in (which would make two screens), then you can have up to eight screens running off of nothing but a laptop! (You can plug the UGAs into a hub, as you probably don’t have six USB ports on your computer.)

Conclusion

If you want more monitors but don’t have the graphic cards, this is the best way to do it. The resolution and color renders perfectly, and even though it uses some CPU when rendering, it works perfectly for spreadsheets, word processing, and other basic tasks. What it doesn’t work for is heavy graphics rendering, such as video and gaming. Use a directly connected display for those.

These are compatible with windows and linux in addition to mac, so you mac haters are in luck.

They are for sale on amazon for $65, and you can find that here.