How to Wirelessly Transfer Files to a Galaxy Nexus

As you may know, the Galaxy Nexus does not have an option for USB Mass Storage. To transfer any files directly from a computer to the phone, it is necessary to plug it in with a USB Cable and open Google’s proprietary Android File Transfer application.

But what if you don’t have a cable? What then?

There’s a couple things you could do. Email works for smaller files, however for larger files things may go slowly and fall apart.

If you have a server or CloudApp or Puush account, you could upload it and then email  the link to yourself. This would work usually, however the Galaxy Nexus’s download manager often will download most of it, then suddenly fail at the end.

There’s also Bluetooth, which is often unreliable. I can’t transfer any files between my Mac and my Nexus over bluetooth, as it gives me a random warning which is just not worth trying to figure out.

There’s really only one good way: DROPBOX.

In case you don’t know, Dropbox is a service that allows you to have a folder on all of your computers that constantly stay in sync. When one file is added on one computer, it magically appears in the Dropbox folder of all of the other computers too. You have 2GB of space, and the real important part is that they have an Android app as well.

Simply open your Dropbox folder, transfer the file in, and wait a few moments for it to upload to the cloud. Then, open the free app on your Nexus. Tap the file that you just uploaded from your computer, and it should download and open. Voila, that’s how to wirelessly transfer a file from your computer to your Nexus without using bluetooth, servers, or anything else that’s ridiculously unreliable and confusing.

Download Dropbox for your Computer

Download Dropbox for Android

Spotify for Android gets Overhauled

Pretty new artist page

Spotify is by far the best music service I have ever come across. For $10 a month, I get all of the new songs streamed to my computer and phone. For the price of one album a month, I can have as many songs and listen to all of them as many times as I want without any ads or issues. It’s magical!

The only problem is the the android app. It really lacks – the interface is a little bit hard to use, it doesn’t offer as much functionality as the desktop app, and the graphics are quite low resolution.

Well, not anymore. Spotify has released a preview of their new app, which features facebook- and twitter-like slide-out menus, cleaner, easier graphics, and a nicer, more refined playing menu. The interface is also a lot faster in general.

A nice new player interface

The application isn’t available on Google Play quite yet, as they’re working on adding a few more features like Last.fm scrobbling, folders, and more. However, if you’d like to update now, you can still download the preview of the new app.

First, you’ll need to open Settings > Applications and check the box that allows you to install applications from unknown sources. Next, open this post on your phone and tap here. The apk file should download. Next, pull down the notifications and tap the downloaded file. Follow the steps and in a few taps you’ll be enjoying the new spotify interface!

I’m excited that spotify is finally cleaning up their Android app – it was getting a bit, well, old.

Android Wifi Tether Now Working on Galaxy Nexus

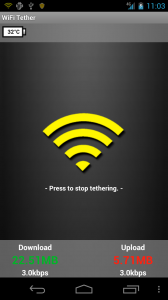
The only real reason I ever root my phone is to use the Wifi Tether app. Wifi Tether is a free application that allows you to get the internet from your rooted android phone onto your computer, without having to pay for Verizon’s ridiculous tethering plans.

Right after I rooted, I installed Wifi Tether and was disappointed when it gave me an error and didn’t work. I went to their Google Code page and there was already a very popular thread about it’s dysfunctionality on the Galaxy Nexus.

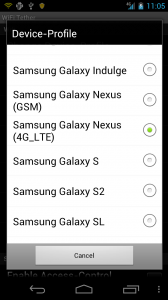
Well, rooters unite – Wifi Tether has just released an experimental pre-beta version that has support for the Nexus. Although it’s considered “experimental,” I’ve had absolutely no problems with it and I’m loving the 4G speeds. It’s like having a 4G Mifi with no data limits and a much cheaper data plan ($30 a month!).

Click Here to download the app. I recommend browsing to this page on your phone (here’s a shortlink to save you a little bit of time: http://wp.me/p1GtXy-vW) and hitting that download link.

Once it’s downloaded, go into Settings > Security and check the box that says “Install Apps from Unknown Sources.” This will allow you to install the apk file you just downloaded.

Now open your downloads and tap the apk file I told you to download up there, and you will go through a quick install process.

Open up the app and you’re ready to tether over 4G speeds!

If you’re not rooted yet and would like to be, click here for my post on how to root the Galaxy Nexus.

Enjoy your 4G Tethering!

How-To: Root the Galaxy Nexus LTE

I just got my hands on this beautiful Galaxy Nexus. I love it so far, and a full review is in the making.

But in the meantime, I figured I might as well show you how to root it.

So here you go.

(FYI: This how-to only applies to mac)

1. Download the files

First, download this file: Android root tools


Unzip it and put the folder on your desktop.

Now we can get started!

1. Unlock your Bootloader

Unfortunately, this is necessary with the LTE version of the galaxy nexus. It can be a little bit risky at times and is said to void your warrantee, but you can always undo this part.

First, plug in your Galaxy Nexus to your Mac and hold down the power button to turn the phone off.

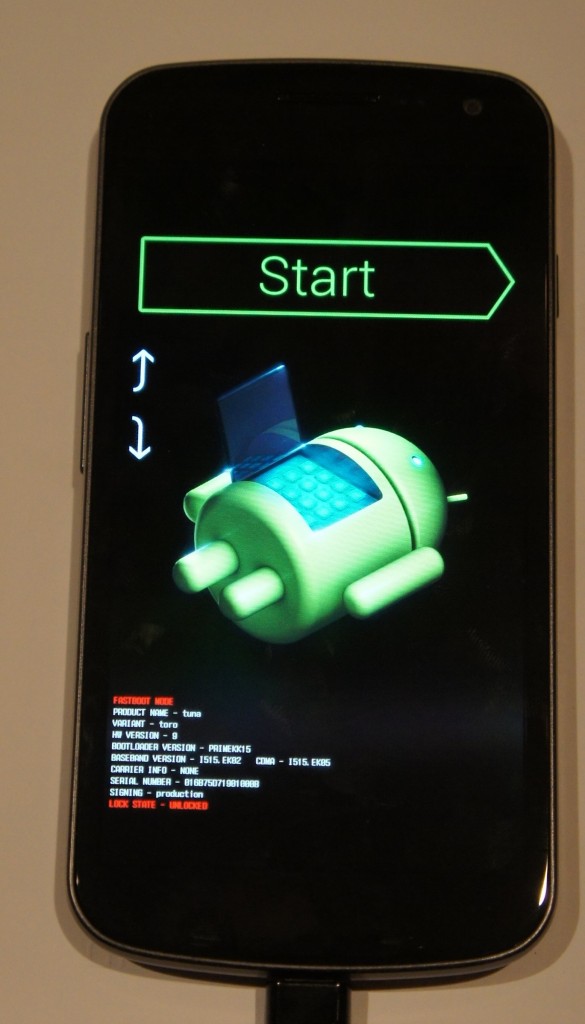
Now, hold down both the up and down volume buttons at the same time and hold down the power button. You should be greeted with a screen that looks like this (if not, shutdown and try again):

If you’re having a lot of trouble with this, here’s a video that I made showing you how:

Open up Terminal.app and type the following:

./~/Desktop/androidsdk/platform-tools/fastboot-mac oem unlock

You should see a prompt on your Nexus’ screen asking if you want to unlock the bootloader. Press the volume up key followed by the power key. You’re done!

Once you’re back at the android-open-thing screen, hit the power button to start the phone.

Now, it should boot up and start cycling through the boot animation. It may do this for a good ten minutes – whatever you do, DO NOT PULL THE BATTERY! (I learned this the hard way).

Eventually your Nexus will boot up, and you’ll be safe and sound in your little Ice Cream Igloo.

2. Root

Now it’s time to ROOT!

Put your phone back into fastboot mode plugged into your computer.

Open up Terminal and type this:

chmod +x ~/Desktop/androidsdk/r2-galaxynexus-superboot/install-superboot-mac.sh (hit enter)

./~/Desktop/androidsdk/r2-galaxynexus-superboot/install-superboot-mac.sh (hit enter)

That should be it! Your phone should start up.

It may hang on the Google logo for a while – If this happens, wait about 10 minutes and pull and replace the battery. Turn it on and it should cycle through the boot animation for a few minutes.

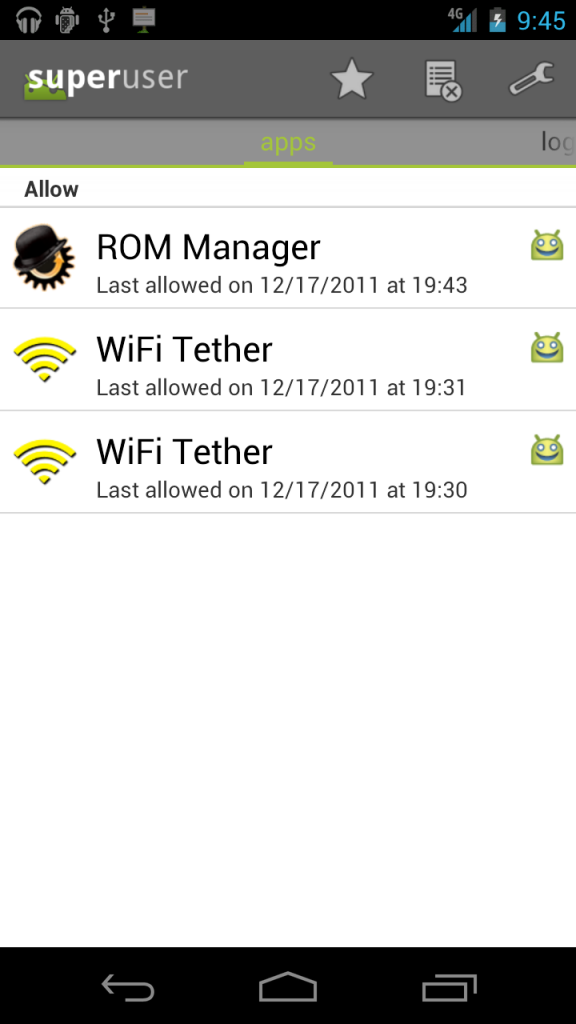
Once your phone boots up, you’ll be completely rooted! Enjoy!


How Hex Codes Work

I know, a lot of you out there won’t be needing this anytime soon, but I think that the way digital web colors work is cool, and I think that you will too!

When designing websites, color is always important. What color should the background be? The font?

All of these colors are chosen within CSS. CSS has a few basic colors built in, like white and black but everyone would like more specific colors. My screen doesn’t have millions of colors for ‘nuthin!

In CSS, specific colors are entered via hex codes. These go #123456, where each digit ranges from 1-F (0123456789ABCDEF). Because colors are composed of three values, Red, Green, and Blue, two digits of a hex code are for each.

This is a bit difficult to explain, so I made a diagram just for you:


For example, if your hex code is #FFFFFF, thats FF for red, FF for green, and FF for blue. FF is the highest possible value, so as much of all colors as possible results in white. It’s the same with #000000: no color at all means black.

If you were to have #FF0000, that’s the highest value for red and no value for anything else; you’ll end up with pure red.

I hope you enjoy having yet another little nugget of tech information in your mind! Use it wisely! 🙂

KillBackground: Kill All iOS Background Apps at Once

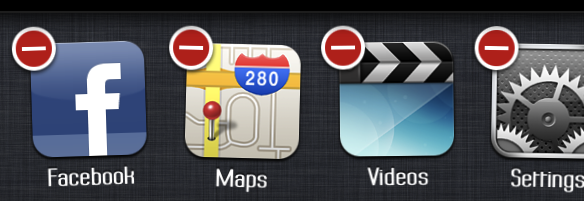
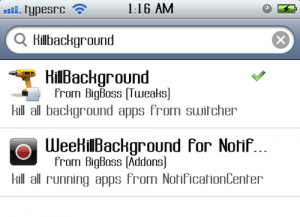
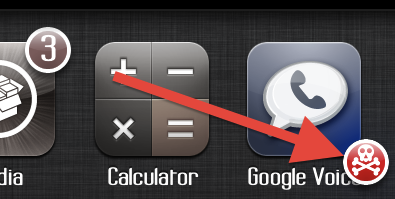
One of the most prized new features of iOS 4 and on was the ability to run many apps at the same time and switch between them easily. One of the little issues with this is that when you close an application, it stays running in the background. Normally this wouldn’t be a problem. But contrary to popular belief, background apps take up a ton of battery life! By the end of the day, you could have every single one of your apps running in the background of your iPhone! Of course you can double-click the home button, tap and hold one of the app icons for a second, then hit the red circle in the top left. Then hit it again for the next app. And again. And again. And again. You’ll have to tap once for every single app that’s open. Done yet? Well, if you happen to be jailbroken, here’s a little tweak from Cydia that will help you. Open Cydia and search for KillBackground. Install the free package by Mathieu Bdard and respring your device. When your phone comes back, you won’t immediately be able to tell that anything is different. But open up a few apps, then double-tap the home button. Tap and hold one of the apps for 1 second, and voilà! You’ll see a little red crossbones icon in the bottom left. One tap and all of your apps are killed! You can also open up your settings app and select KillBackground to configure some different options. Enjoy!

The Impact of Customer Service

Customer service makes a big impact on how people look at your company. Here’s two examples of personal experiences with customer service – one bad, one great.

The Bad

Recently, my sister’s MacBook had a little breakdown. The trackpad stopped working.

I knew how to fix it, I just take it apart and switch out the trackpad. So now, I just needed to get the trackpad.

I found a site on like called Mac Parts Online. I clicked on my sister’s model of MacBook, then clicked on the trackpad. It redirected me to a shopping page, where I then ordered the trackpad.

Upon arrival, I found that it wasn’t the correct model of trackpad. This trackpad was for an aluminum MacBook!

I went back to the site and looked for an email address or phone number. I found a contact page and over the course of a week sent them messages three times. I never got any response.

Eventually, they started responding. After some arguing, they regretfully accepted it for a return. On top of that, I had to pay a 25% restocking fee.

So first, your site misinforms me about what product to get, then you don’t reply to my messages, then you finally accept it for return, and charge me 25%?!

I know I won’t be shopping here again. Ever.

  • Website was misleading
  • Slow response
  • Unfriendly Customer Service
The Great

I was recently looking around for some photography gear. I found a site called Photojojo, full of a ton of different nicknacks and photo related toys and supplies.

I found a lens called the Diana+ that I was really interested in. Upon reading the description, I could tell this was going to be fun.

Simply attach the plastic lens and its adapter directly onto your SLR’s body (Nikon or Canon) and shoot away. With one part Diana camera (old school lo-fi plastic) and one part modern DSLR you’ve got yourself one mighty fine recipe for unconventionally amazing photographs.Finally! A way to re-invent your style while kicking it digital with the hip kids and their plastic cams. (And for future reference, Thomas Kinkade = not hip).

Instead of a machine writing this, there’s a real person writing and not just filling out a form description made by some manufacturer in china.

As you may have read, it works on Canon and Nikon SLRs. But what about my NEX-5? I have a nice NEX-5, but it doesn’t take Canon or Nikon Lenses.

So, I thought, I could just get a Nikon to Sony adaptor and I’ll be set! I’ll put the Diana+ Lens in the nikon adaptor, then the Nikon adaptor onto my NEX adaptor.

But there was one potential problem with this – would there be a problem because the lens would be two adaptors away from the CCD in my camera?

To answer this, I turned to Photojojo. I found their contact page quite easily, sent them a message, and within a day they responded.

Hey there Max!

I can’t say for sure since I don’t have your camera or that snazzy Sony to Nikon adapter to test it out, but best I can tell I think that setup would work great!

I don’t think the extra distance will make much of a difference and that combo of adapters is your best chance of using Diana lenses on your camera so I’d say give it a shot!

If I’m totally wrong and it doesn’t work for ya we’ll take the Diana Lens and Nikon adapter back easy peasy!  (Just be careful to keep all the packaging together and don’t rip the boxes when you open them if you can help it).

Hope this helps!  If you have any questions, I’m just a keyboard away.  And once you get it all set up please let me know how it works for ya (and feel free to send me some pictures too! – I love seeing what folks come up with!)

 —

Julieanne

Silly Putty Enthusiast and

Photojojo Customer Support

Upon reading this email, I just wanted to hug the person who responded. They talked to me like I was their best friend in the world. They were nice, personal, helpful, and still professional. They also said that I can refund it, and the way they used very personal language like “snazzy” and “easy peasy” just made me know that I was an appreciated customer. This is customer service.

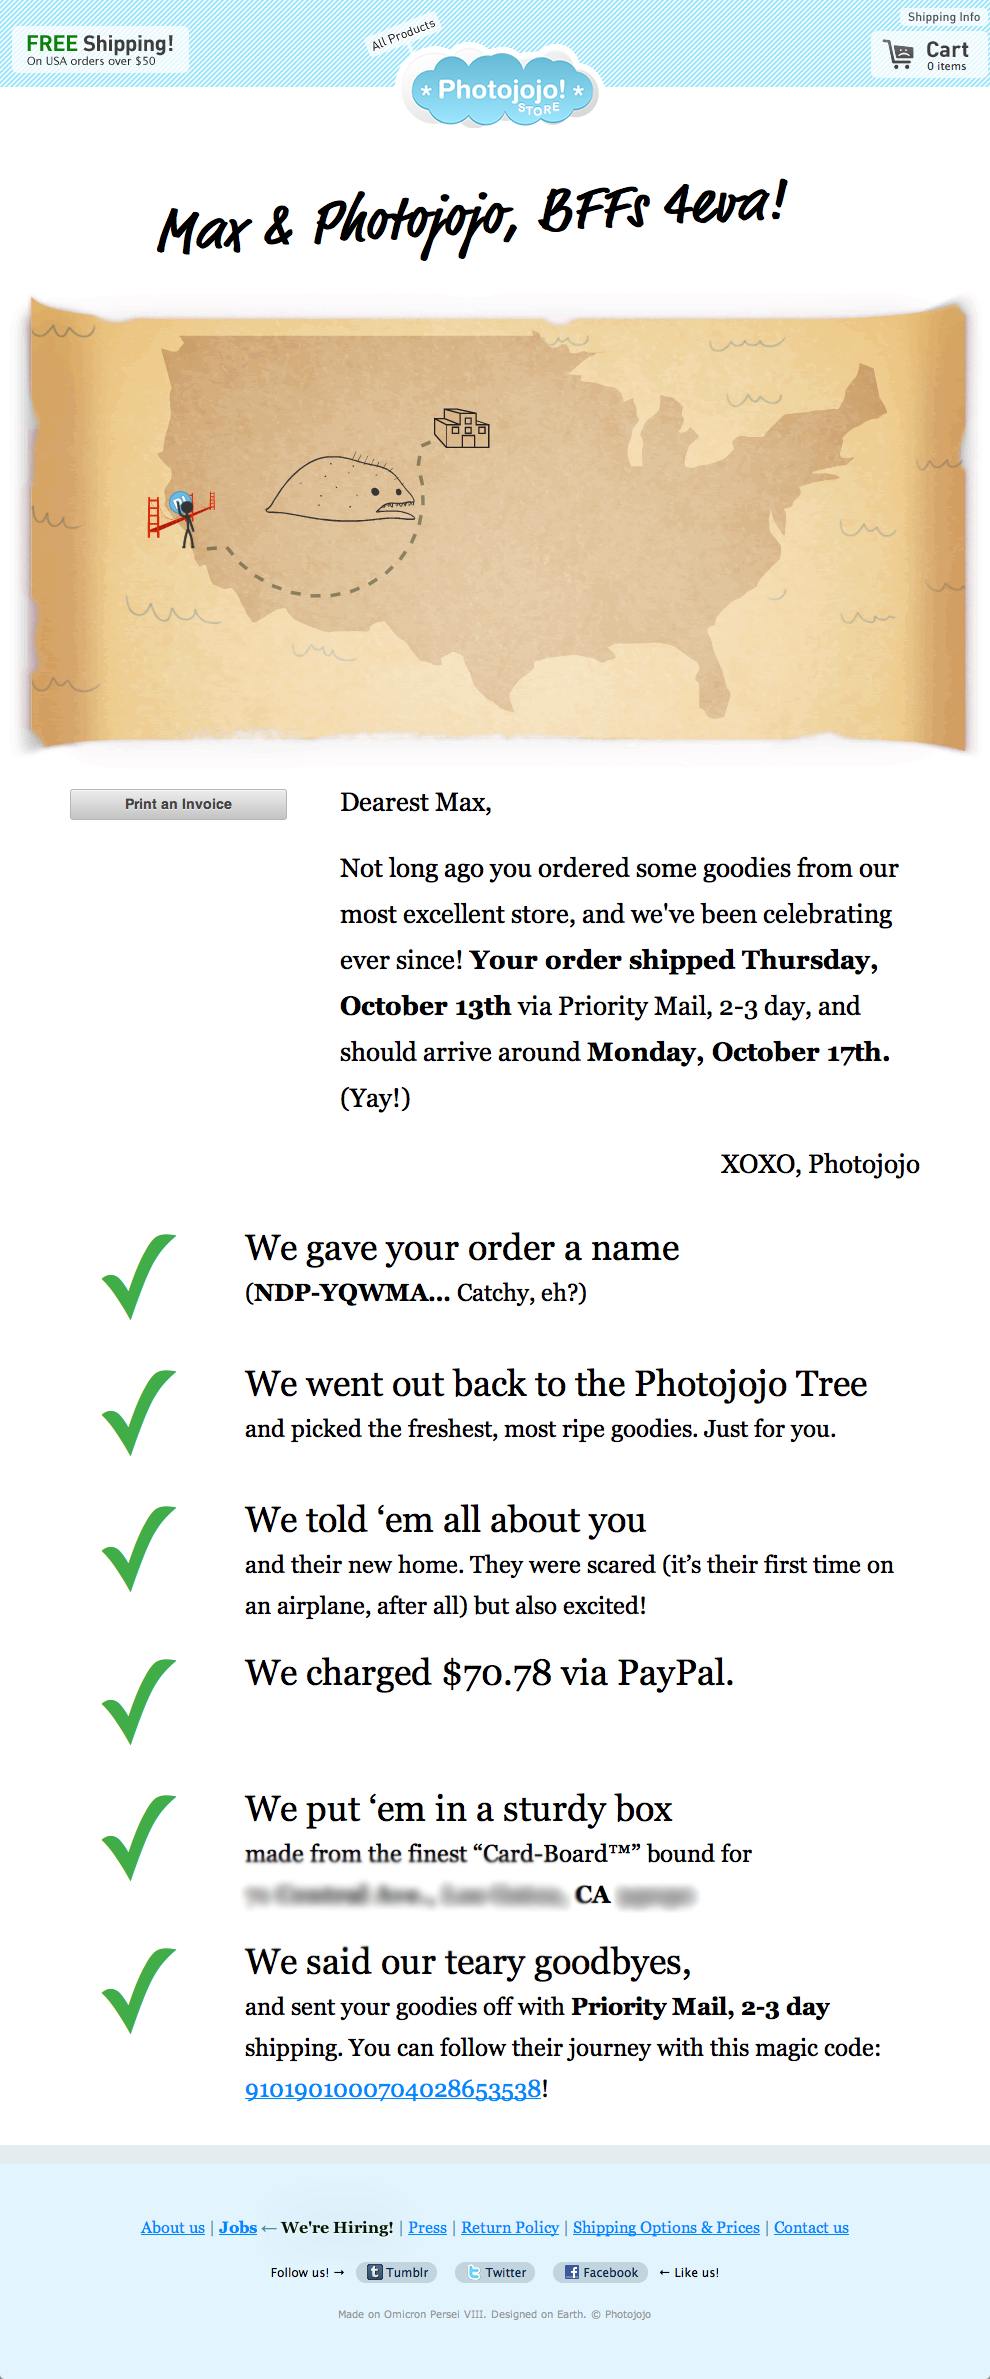
I then proceeded to order the lens, and I then got a shipping notification. It said that I could watch my order come on this “Shiny new page.” I clicked on the link, and here’s the page I got:


Look at that. It even gives me a little picture showing the package on it’s way to California. They used really cute language, like saying the went out to the “photojojo tree”. Every little word of this is spiced up and makes me feel warm and fuzzy inside.

  • Easy to use site
  • Personal yet still professional language
  • Quick, helpful, nice, personal response
  • Easy return policy
Who wouldn’t want to shop here?!
Why
We all buy things online. But whenever you buy something that you can’t use/try out immediately, there’s always a risk – it might not work, it could be broken, it could be the wrong model.

If we can trust the site, then we are far more comfortable with taking that risk, as if it were to ever happen that there was a problem we know that the site will be helpful. Machines can’t really manage returns, and when the person on the other end is mean and nasty you don’t even want to bother trying to talk to them.

That’s why with Photojojo, I want to order from them a ton of times just so I can get their snazzy emails that make me feel so nice and fuzzy and warm and happy and unicornaliscious. (See what I did there? Seems like something Photojojo might say.)

If you own a company, Customer Service should be your first priority, followed by quality of the product. After all, what’s the good of a great quality product – with the wrong part number that can’t be returned due to your awful customer service? You’ll end up like Mac Parts Online – with dissatisfied customers who will definitely not return.

Do your best to be a Photojojo – Be professional, personal, and make people want to talk to you, not just need to talk to you.

Instagram – with a DSLR

Instagram is an amazing iPhone application that can transform your normal iPhone photos into interesting, old-ish photos. Unfortunately, your iPhone doesn’t have the best camera that you could put your hands on.

Here’s two applications that will give you Instagram-like photo effects and filters, but you can supply your DSLR’s pictures!

Focus

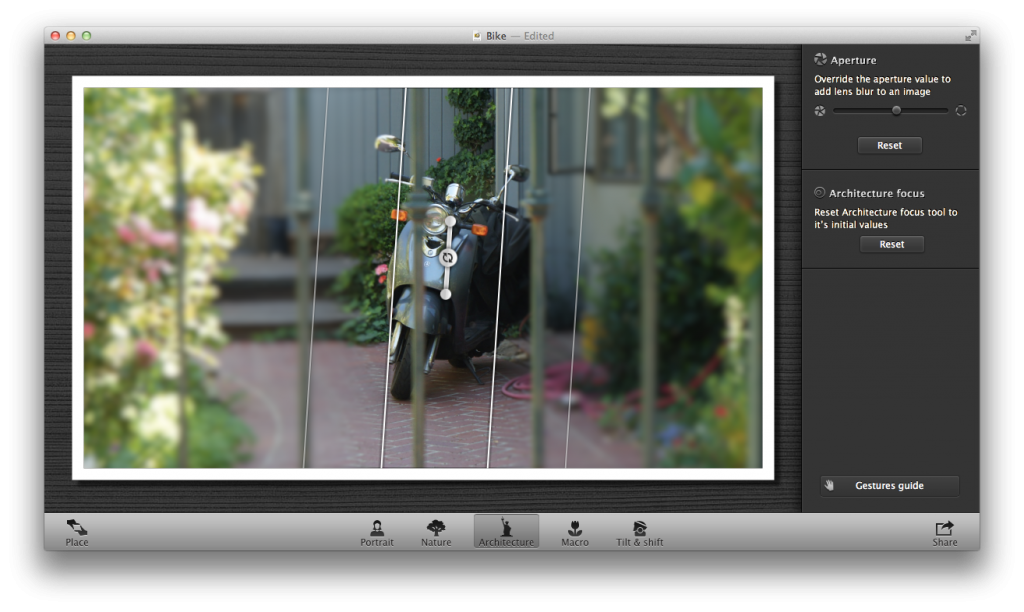
Focus is an application available from the Mac App Store for $5. The app basically allows you to add tilt-shift effects to your photo. It’s a very straightforward application, and I think I can basically sum up the controls in this screenshot.

First, open a picture in the app. Then, click “Place” in the bottom left corner. This will allow you to rotate, crop, and align your photo to your liking. Then, click on one of the options that are shown. I personally don’t understand why they had to add a bunch of options – I mean, why couldn’t they have just added a button for circular, a button for linear, and a slider for Vividness? The world may never know.

After you’ve selected one of those options, you can click and drag the focused area around and rotate it to your liking. Once you have it in a place you like, hit File > Export and save it as a JPEG. Now you have a tilt-shifty photo!

Lomo Express

Now that we have the tilt-shifty part of your photo complete, we need to add some filters. This will be done with another app from the Mac App Store that is available for a painful $13 – worth it I think so.

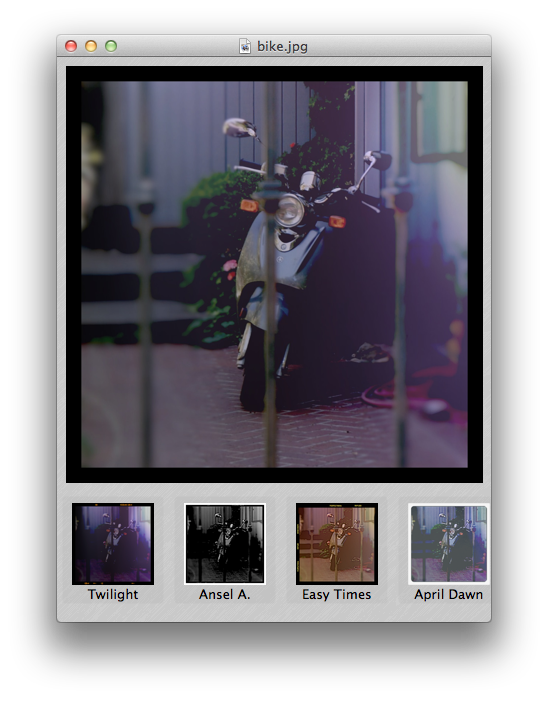
This is as bare-bones as you can make this application, as you open up your photo then choose what effect you want – then save it. Here’s what the app looks like:

There are 12 awesome filters to choose from, and it’s as easy as clicking on the one you’d like and bam, there’s your new photo.

When you’re done and you like the results, go to File > Save As and save it as a JPEG.

That’s it!

Conclusion

Your final picture will look like an instagram shot, but higher quality and resolution!

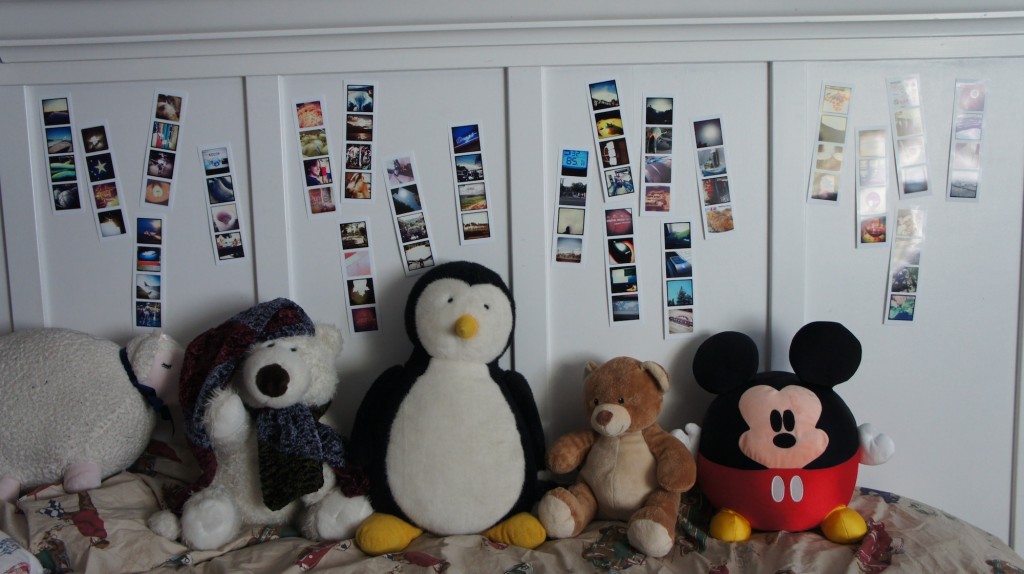
To go even farther, you can print them out on nice paper and post them around, like I did with instagram photos in this post.

Even though this will cost you $19, if you’re really into editing photos with tilt-shift and Lomo effects, this is the way to do it!

Click here to download Focus

Click here to download Lomo Express


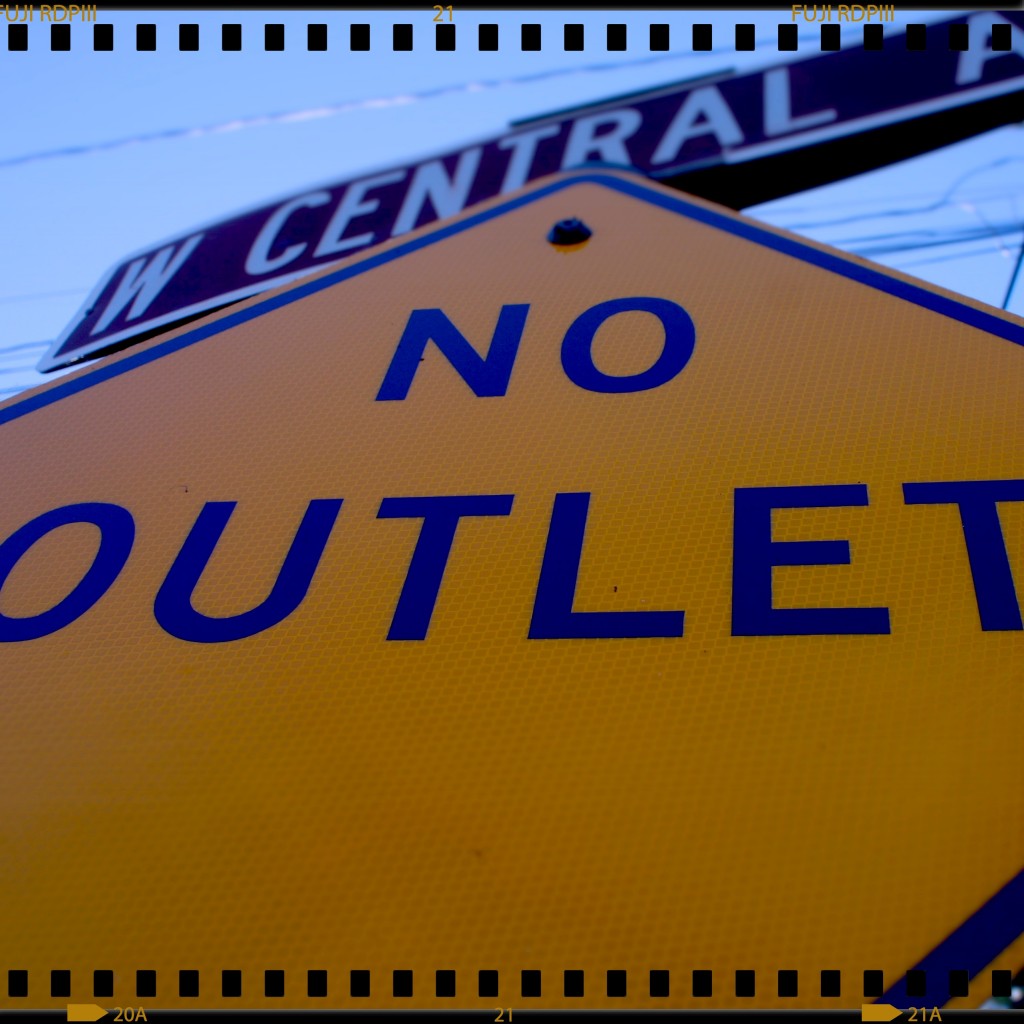
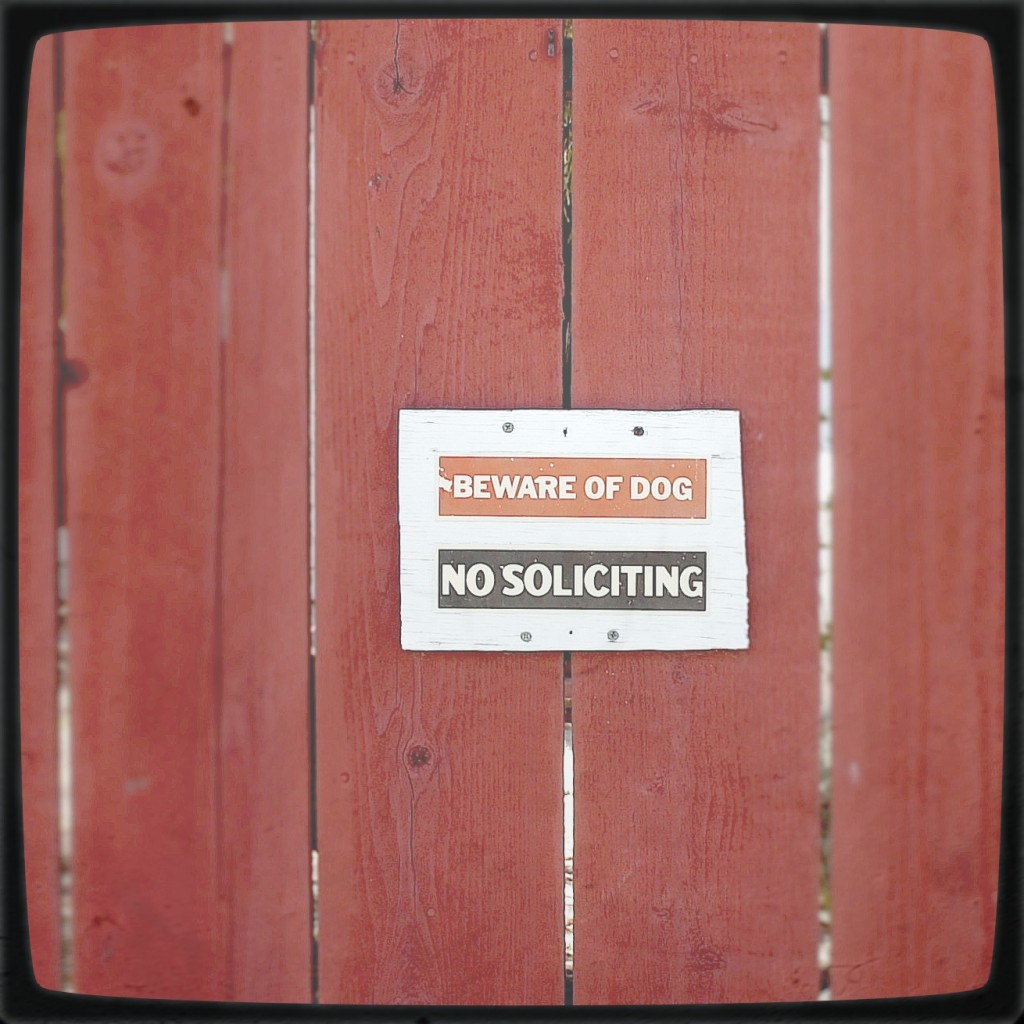
Here’s a couple of photos that I have gotten out of this system.

Photojojo Mini Lenses


The iPhone can take some pretty dang good pictures. In fact, many different phones can take mind-blowing shots. But your little phone can do even more if you treat it to these mini-lenses from Photojojo!


Contents/Installation

There are three lenses available from Photojojo: 2X telephoto, 180 Fisheye, and a 0.68x wide/macro lens. I won’t go over individual pricing, but the whole pack is $50.

Installing the lenses is painless. In your package you’ll get a few tiny, metal magnetic rings. Undo the plastic on the adhesive side and stick it around the lens of your device. If you have an iPhone, however, you should probably put the ring on a case; the sleek glass doesn’t play well with their adhesive.

Now to use the lenses, you just attach the lens to the metal ring and it magnetically locks on. Neat!

2x Telephoto

For those times when you want to get closer to your subject, the 2x telephoto lens will do exactly what you’d expect. Unfortunately it will cause a tiny bit of distortion, but not enough to make a big difference.

Without, With

As you can tell by that comparison, the lens does a nice job of zooming in, but has a bit of distortion (visible near the door handle).

Fisheye

This lens I believe is my favorite. It can capture just about everything you can see without turning your head. If you want to really capture an entire scene, this is exactly what you need.

Without, With

Pretty cool, right? Unfortunately, this lens causes a particularly noticeable amount of vignetting, but I think that it adds a nice effect. If you want to get rid of it, you can always crop it with whatever application you desire, however you’ll end up losing a bit of the image.

Wide Angle / Macro

This lens confuses a lot of people. Is it wide angle or is it macro?!

Alone, the magnetic part of the lens is just Macro. However, there’s an adaptor that screws in to the macro lens to convert it to a wide angle lens.

The macro lens doesn’t zoom in at all. It just allows you to focus WAY closer to objects. Here’s a comparison – remember, I took the first picture as close as I could while staying in focus, then I took the second as close as I could while staying in focus. This lens does NOT zoom.

Without, With


Pretty cool, right? You can get ridiculously close to capture textures that previously went unnoticed. On the second picture, I’m holding my iPhone a tiny bit less than an inch away from the keyboard.

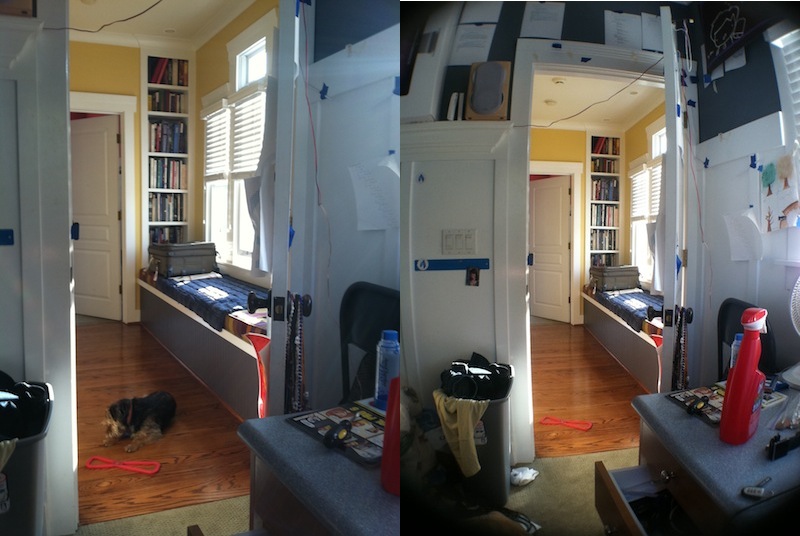
The wide angle addition to this lens isn’t very fancy, it just makes the picture a tiny bit wider. It will cause some straight lines to bend in odd ways, but it still comes in handy when wanting to capture wide shots without going crazy with the fisheye.
Without, With

Doesn’t that doorway look kind of round? As you can tell, it makes the picture a bit wider but can’t capture the amount (and distortion) of the wide angle lens.

Cool uses

Yup, these work great with a phone camera. But there’s one use that I recently found – your webcam! It’s a small camera, just about as small as the one in an iPhone. Take a metal ring and stick it around, and you can use these lenses while video chatting! I personally have an LED cinema display, and although it makes my screen look a little funny, the results are totally worth it.

Here’s the display:

Ha! By the way, those things on top of my monitor are dinosaurs; you’ll get one with every photojojo order! I’ve ordered two things from Photojojo, so that’s why I have two dinosaurs.

Here’s what it looks like straight on:
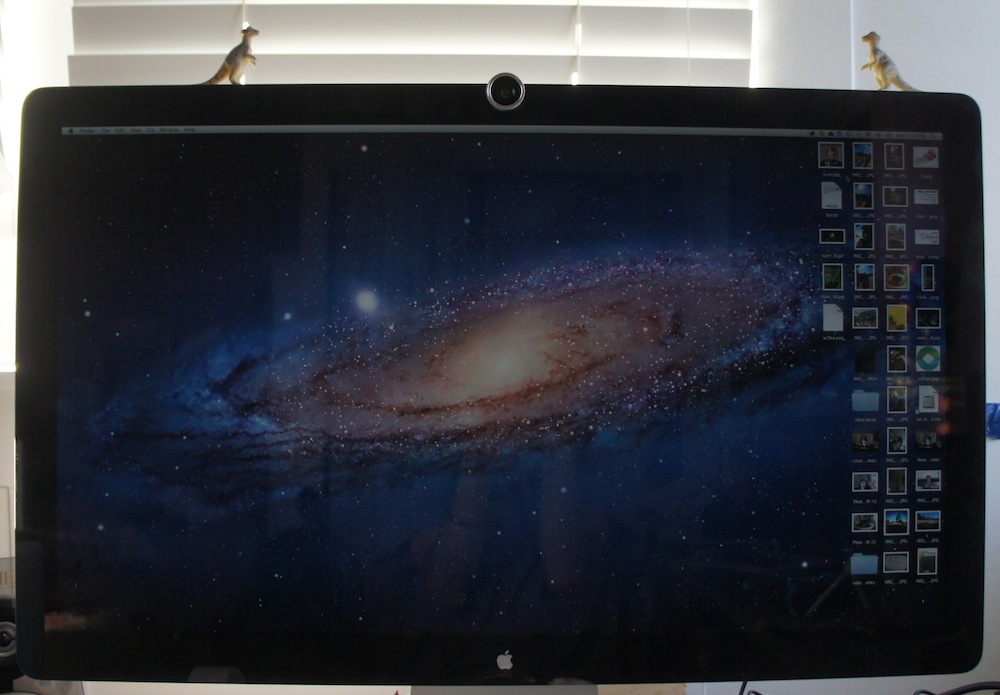
Pretty cool, right?

Here’s the results:
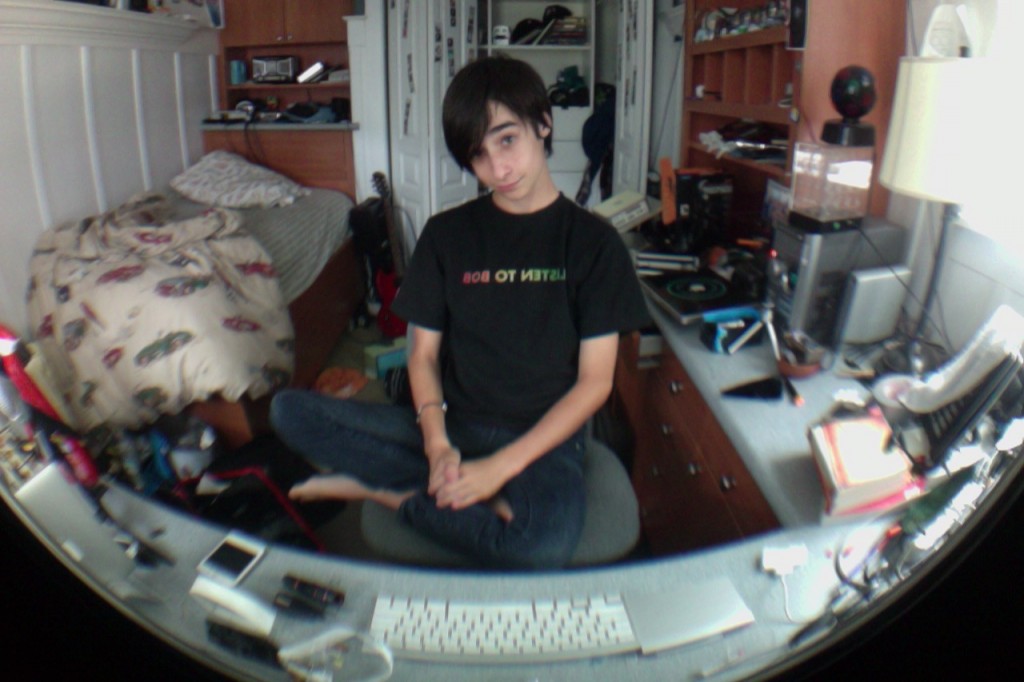
Sweet! You can even see my keyboard!

Conclusion

These lenses are quite handy, and because they work with anything you don’t have to worry about compatibility. The whole set of lenses is $50, and if you’re interested click here to be redirected to the photojojo store!

How-to: Create a Lion Recovery Disk


OS X Lion removes the need for any kind of media for the installation. That’s nice, because there’s no disk for you to lose!
However, if something terrible happens to your computer, you’ll end up installing Snow Leopard, then upgrading to Lion once again. Thankfully, Apple has made a utility that allows us to easily and painlessly create a bootable USB Lion Recovery Disk. Unfortunately, you must have either the MacBook Air or Mac Mini Mid 2011 for this to work. This is because those are (currently) the only computers with the Lion Recovery Partition.

1. Download

Click here to download the Recovery Disk Assistant from Apple. Once downloaded, open the Disk Image and launch the Application.

2. Create

Now would be a good time to plug in a USB disk. Plug it in and continue through the installation. There’s nothing for you to configure, so this is extremely straightforward.

3. Use

If your computer stops booting, or you get a new hard drive, it’s time to use this disk. Plug it in to a slot on your computer, then boot holding the alt/option key. In the menu that appears, select the recovery disk. Now you can download and install Lion right back on to your computer!

DIY $5 Lightbox

We all wish we could have studio-reminiscent photos for our blog posts, etsy listings, ebay items, etc.

Well, you can always buy a lightbox like this one, but that’s $2000!

Here’s how to build an extremely functional lightbox using things that you probably already have around the house. I built this one out of stuff that I had laying around, so for you it might be as low as $0!

Materials:

  • Cardboard box
  • Large paper (the thinner the better)
  • Cutting tools
  • Some desk lamps and/or flashes
Instructions
1. Cut three holes in the cardboard box
Tape up the ends so you have the box, then cut out big windows on three of the sides of the box. Leave only about 1.5 inches from the edges of the window to the edges of the sides.
I wish I could have a picture for you, but I already built mine! You can look at the final picture at the end of this post and you’ll probably get an idea of where you need to cut.
2. Get out the paper

I had a huge roll of white paper laying around, and the thickness was just the same as my lightbox’s windows.

You’re going to want to cover two opposite sides of your box with paper, as the third you will be taking pictures through.
Take your paper and cut it so it is barely bigger than the windows you cut in your box, then tape them so they completely cover the two opposite windows.

3. Add the back

Now it’s time to add the backdrop. I cut a strip of my roll of paper, but you might have to take some pieces of paper together – unfortunately that might mean that you have some pieces of tape in your photos. 

Take the paper and tape one end to the back top edge of your box. Push the paper inside the box so you get a nice, smooth curve at the back bottom edge. 

4. Add lights, finish up

The front window still has an edge at the bottom, which will probably get in the way of your shooting. Cut that little edge off so the front window is open.

Now, you just need to add some light. I have some photography modeling lamps around, so i propped those up and put them on each side. In addition, I got a desk lamp for each side and put in 100w bulbs. For the final touch, I put a light right in front so that the front was filled in as well.

5. Shoot!

You’ll probably want to set your camera on manual, then put it in a tripod. I’m using as wide as an aperture as possible, as low as an ISO as possible, and change the shutter speed so that you get the right light.

This will give you the smallest depth of field and littlest amount of grain, and as long as your camera is on a tripod the long shutter speed won’t blur anything. If possible, set the white balance on your camera by finding the setting for white balance and set it to custom, then take a picture of your white backdrop. Most DSLRs have this feature, but if your camera doesn’t then just set the white balance to Incandescent.

Here’s some photos.


How-To: Create Instagram Photo Booth Strips in 3 Easy Steps

You’ve been using Instagram, the social network of quirky and cool pictures.

So now you have a profile with all these awesome pictures with comments, and all this other techy stuff.

But sometimes it’s nice to convert all that cool digital stuff into something analog.

And that’s why today, I’m going to show you how to make photo booth reminiscent photo strips.

You will need:

  • An instagram account with pictures
  • Photo paper
  • Photo printer
  • Rotary cutter, paper cutter, or at least scissors
Step 1: Get your photos

The first part of this project is to make strips of all of your photos.

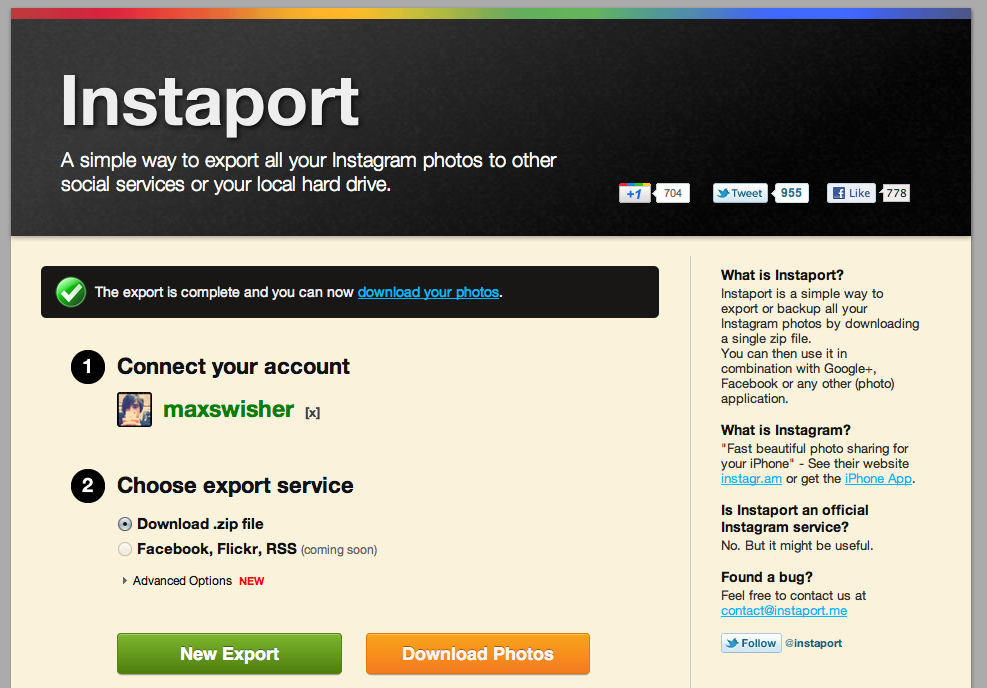
Start out by going to http://instaport.me and downloading all of your pictures to your computer as a zip. Instaport is a simple service that allows you to download all of your instagram photos as JPGs for free.

Once you have a zip saved and you can view your instagram images, you might want to go through deleting the ones that you don’t want to be included in your photo strips.

Step 2: Print your Photos

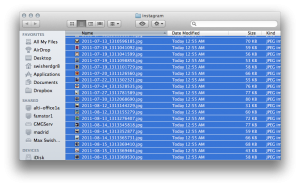
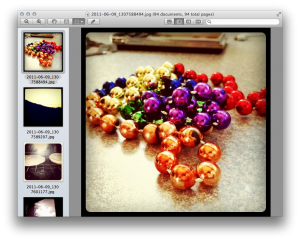
The next step is to open all of them up in preview. Go into the instagram folder (the folder containing all of the JPG images from instaport) and press Command A. This will select all of your instagram photos. Then just double click anywhere in the window and you will eventually get a preview window with all of your images open.

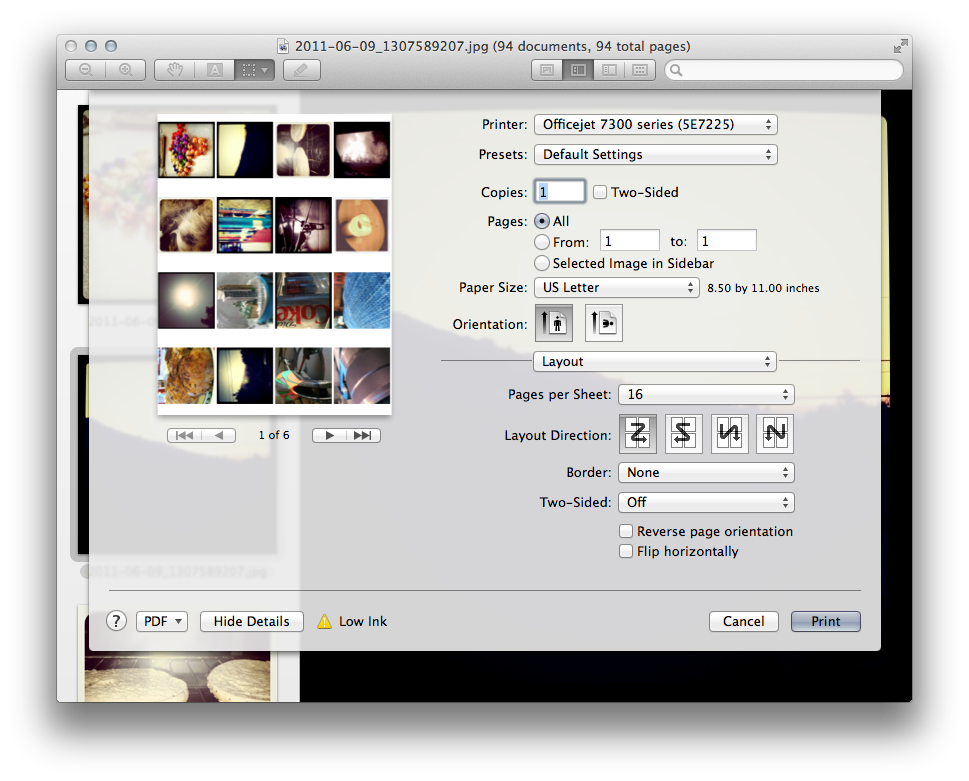
Next, press File>Print and configure the settings to look like so:

If possible, try to print borderless – your printer may or may not support this feature.

Next, hit the big Print button and let the magic happen. In a few minutes, you should have a few pages of instagram photos.

Step 3: Cut your Photos

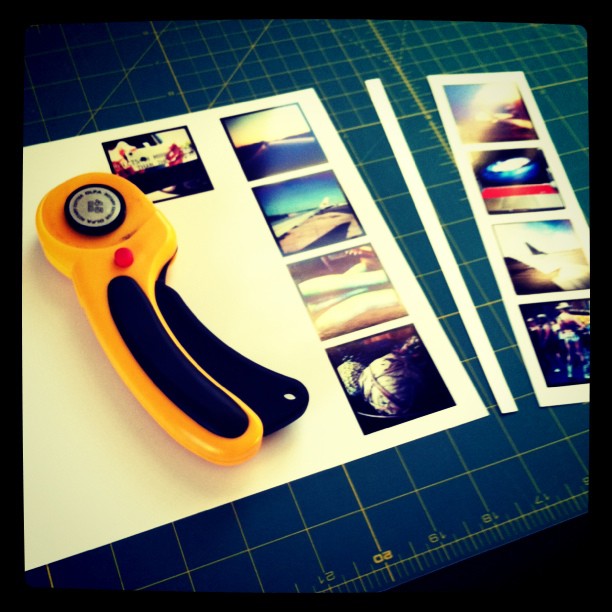
Get out your rotary cutter / paper cutter / scissors and cut them into even strips horizontally (so that you have strips of four). Here I’m using a rotary cutter to to cut the strips evenly and cleanly.

Step 3: You’re done!

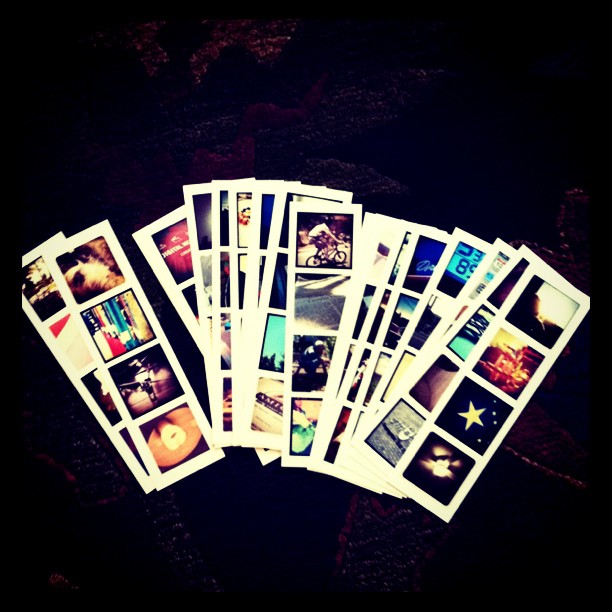
Once you’ve done that, you’ll have a ton of cool instagram photo strips.


Step 3.5: Do stuff with them

Well, now you have these cool strips! There’s tons of things you can do with them. Use them as bookmarks, give them to friends, collect them, hang them, use them as business cards, or my favorite: start an instant photo wall!

Also, feel free to follow me in instagram! My username is maxswisher.