I just got my hands on this beautiful Galaxy Nexus. I love it so far, and a full review is in the making.
But in the meantime, I figured I might as well show you how to root it.
So here you go.
(FYI: This how-to only applies to mac)
1. Download the files
First, download this file: Android root tools
Unzip it and put the folder on your desktop.
Now we can get started!
1. Unlock your Bootloader
Unfortunately, this is necessary with the LTE version of the galaxy nexus. It can be a little bit risky at times and is said to void your warrantee, but you can always undo this part.
First, plug in your Galaxy Nexus to your Mac and hold down the power button to turn the phone off.
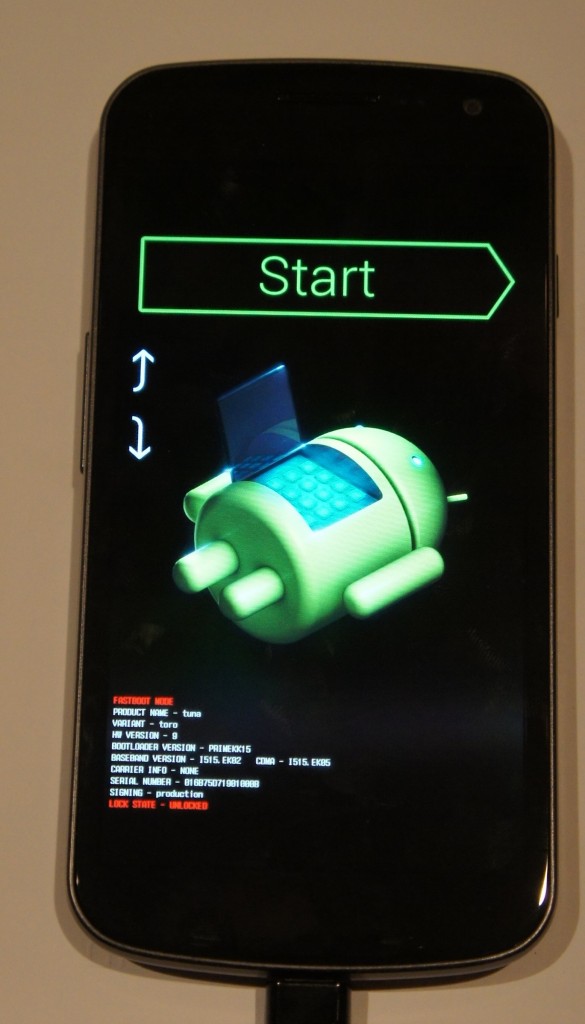
Now, hold down both the up and down volume buttons at the same time and hold down the power button. You should be greeted with a screen that looks like this (if not, shutdown and try again):
If you’re having a lot of trouble with this, here’s a video that I made showing you how:
Open up Terminal.app and type the following:
./~/Desktop/androidsdk/platform-tools/fastboot-mac oem unlock
You should see a prompt on your Nexus’ screen asking if you want to unlock the bootloader. Press the volume up key followed by the power key. You’re done!
Once you’re back at the android-open-thing screen, hit the power button to start the phone.
Now, it should boot up and start cycling through the boot animation. It may do this for a good ten minutes – whatever you do, DO NOT PULL THE BATTERY! (I learned this the hard way).
Eventually your Nexus will boot up, and you’ll be safe and sound in your little Ice Cream Igloo.
2. Root
Now it’s time to ROOT!
Put your phone back into fastboot mode plugged into your computer.
Open up Terminal and type this:
chmod +x ~/Desktop/androidsdk/r2-galaxynexus-superboot/install-superboot-mac.sh (hit enter)
./~/Desktop/androidsdk/r2-galaxynexus-superboot/install-superboot-mac.sh (hit enter)
That should be it! Your phone should start up.
It may hang on the Google logo for a while – If this happens, wait about 10 minutes and pull and replace the battery. Turn it on and it should cycle through the boot animation for a few minutes.
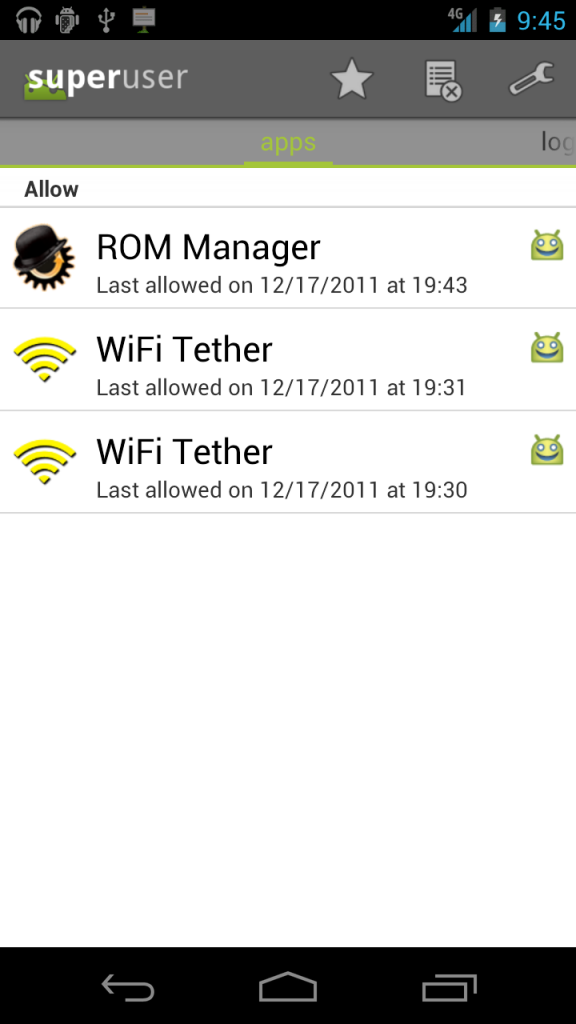
Once your phone boots up, you’ll be completely rooted! Enjoy!


Pingback: Android Tethering now working on Galaxy Nexus | Good Morning Geek