Okay, so you have a ton of stuff to do. Emails to respond to, presentations to finish, proposals to complete. Calls to make, appointments to schedule, packages to deliver, documents to sign.
But that one tab… it’s flashing. It beckons you.
“Bob sent you a message!”
Bob. He sent you a message.
All of the sudden, your entire agenda turns to nothing as you get sucked in to this pointless conversation with Bob.
But wait – you have a new notification. Someone commented on your cat photo. You need to respond. If you don’t, then your opinion wouldn’t be expressed to the world! Oh, that post, it must be liked. Oh, there’s Bob again – Gotta reply to that. Oh, new comment on that cat photo. What?! They don’t think cats are better than dogs? I need to google why cats are better than dogs. Oh, there’s that flashing tab again! It’s Bob. Oh, I have a new chat. I have to respond to it. Oh hey, there’s my old high school friend! I should say hi. Oh, that post is cool, I should like it. Oh, I need to respond to bob. Oh, someone liked my status. Oh, I have to respond to my chats.
Three hours have passed. You’ve gotten absolutely nothing done.
This, my readers, is a daily phenomenon that affects almost 100% of active Facebook users. The term for it is “unconscious procrastination, meaning that you procrastinate and you don’t even realize it until you actually take a look at the clock. And thanks to many sites like Facebook, Twitter, YouTube, and more, unconscious procrastination is a problem that affects the productivity of the entire world.
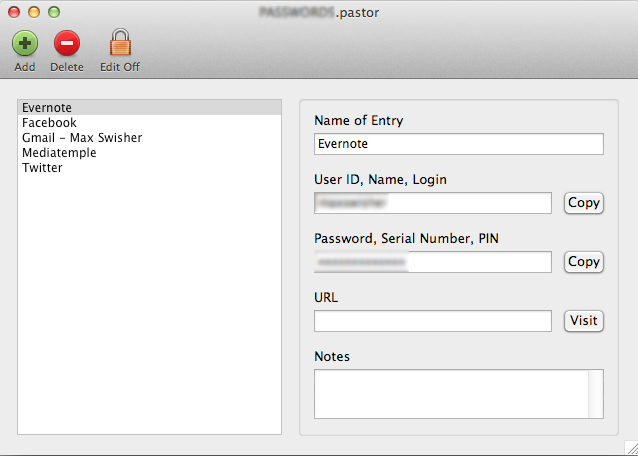
Well, thankfully, there is indeed a solution: SelfControl.
SelfControl is very simple: Add the sites you don’t want to it’s blacklist, set a timer, hit start, and goodbye procrastination. Any of the sites that you added will no longer work for that amount of time! So no matter how much you might want to get to Facebook to see if Bob responded, you can’t – so I guess that gives you the opportunity to get something done!
One of the beautiful things about SelfControl is that once you set the timer, you can’t stop it. Even if you restart your mac, uninstall the application, whatever, you won’t be able to visit your blocked sites until the timer is up.
Okay, now for the technical part (those who aren’t interested, skip to the next paragraph). On your Mac there is a file called the hosts file. Basically, it contains a local DNS registry, which usually only consists of localhost being 127.0.0.1. What SelfControl does is adds an entries to the hosts file that direct whatever sites you blacklisted to 0.0.0.0. This means that if you try to visit a site that you blacklisted, you will be redirected to the server at the address 0.0.0.0 – which doesn’t exist. Now for the spoiler: if you really want to get your Facebook and other social networks back before the timer is out, you can use the Terminal to edit /etc/hosts and delete the SelfControl entry.
So say goodbye to Bob, your friends, and your admirers alike; you have work to do.
SelfControl Website
Direct Download