A lot of people are saying that the iPad can easily replace a laptop. When you’re sitting on your couch, just woke up in the morning, or traveling around, can’t the iPad do everything a laptop can? I mean, why take a laptop with me when I’m just going around town, when I can take an iPad instead?
I’ve thought about this a lot. In a post I wrote a year or two ago (wow, that long ago?), I said that the iPad could easily replace a MacBook. The one thing that it really didn’t do was flash.
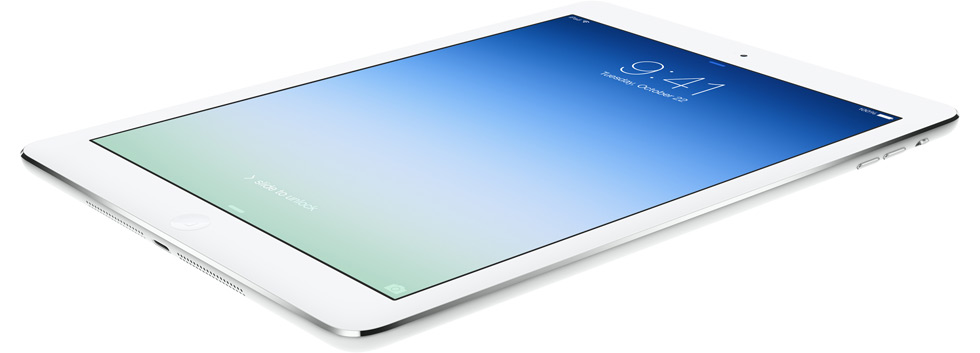
But recently, I got a new MacBook Air, and it seems that I prefer to use it over the iPad.
The iPad can basically do everything that the MacBook can. There’s only two big problems.
First of all, the keyboard. Touchscreen keyboards work for typing quick messages to people, but for typing an entire blog post, it gets a bit annoying. The other problem with the keyboard is that it absolutely SUCKS for coding. I mean, it takes three taps to insert a <, /, or >. And when writing something as basic and simple as HTML, it’s a complete pain.
I can hear all of you saying “Wait a sec, you can connect a bluetooth keyboard! Heck, you can connect a USB keyboard using the Camera Connection kit!” But come on people, why carry around an iPad and a keyboard when you can just carry around a MacBook? I mean, doesn’t having to bring a keyboard with you everywhere prove my point even further?
Next, there’s the lack of a windowed operating system. That’s the really nice thing about Macs: you can have multiple things going on at once.
Okay, now I can hear all of you saying “Wait a sec, iOS 4 brought multitasking in! You CAN do multiple things at once!” But, once again, come on people, it’s painful to switch between different apps. What if you have something in one application that you need to read and get information from while typing in another? This will requite quite a lot of four-finger swiping back and forth between apps. With a windowed operating system, I can have multiple applications and pages open, and see what’s going on in each. Heck, I can watch a movie while scrolling through my twitter feed. The flexibility of a windowed operating system is unmatched to the multi-tasking interface on an iPad.
Then, there’s power. Sure, the iPad has a dual-core A5 chip. But the time that it takes for a video to be rendered on an iPad is easy to compare to the speed of a dual-core hyper-threaded i7 in my MacBook air.
And this brings me to my very last point – availability , flexibility, and power of applications. The iMovie available for the iPad is quite handicapped to the iMovie on my MacBook. In fact, it’s that way with every single application available for both the iPad and the Mac. Then, of course, there’s port options. I can’t plug an external hard drive into my iPad and transfer my files to and from it. It’s all very closed off, as the iPad only has the proprietary Apple 30 pin connector and a headphone jack.
And that, people, is why I enjoy taking my MacBook places more than my iPad.


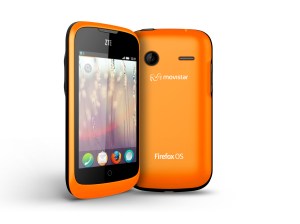 At Mobile World Congress, a bunch of people with ties huddled into a room in Barcelona, Spain to hear what Firefox had to say.