The NEX-5 Revisited

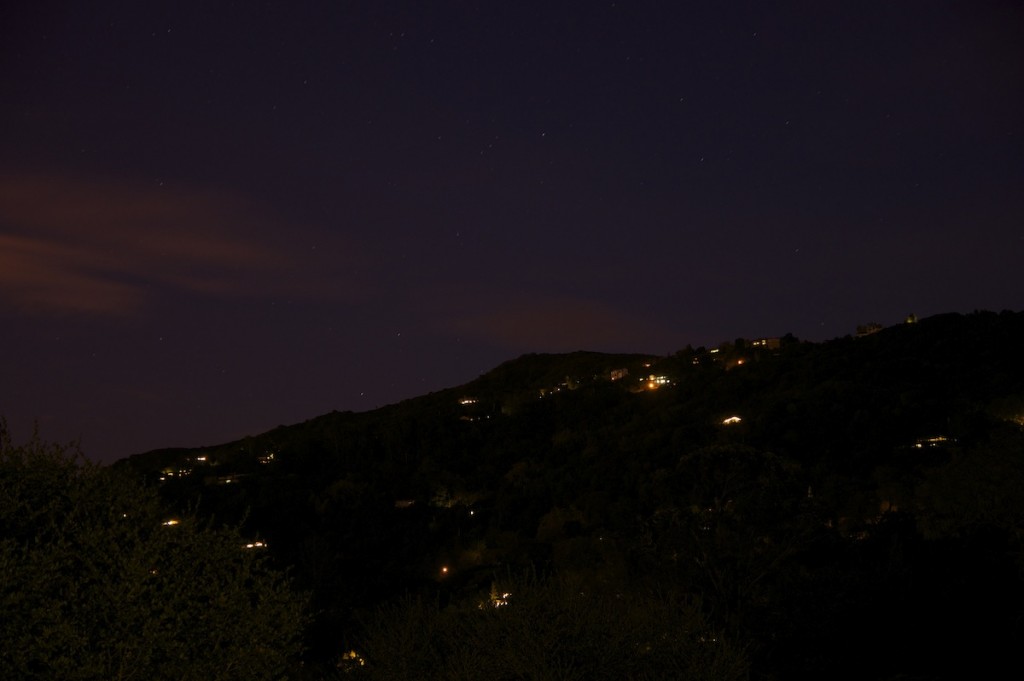
You may remember this review of the NEX-5 that I did.Well, it’s quite a while later and I just wanted to revisit this camera.I feel that the NEX-5 is proof that the size of your camera doesn’t mean that it’s more or less capable of taking great photos. The NEX has taken some amazing photos, and I never have to do any staging, fiddling with settings, or laboring by carrying a huge 10 pound SLR. Here’s a couple of the photos that I’ve taken with the NEX:

Long exposure shot from my backyard.

As you can tell, the NEX can take some dang good photos. It’s a small and compact camera, but it is still capable of taking amazing pictures without much effort. It’s a nice balance between the ease of use and size of a compact digital camera, but has near equivalent picture quality and advanced features as a full SLR. When you hold the camera in your hand it feels great, as it has some weight to it, but isn’t a huge SLR that’s a pain to carry. It’s nice to be able to have extremely great picture quality without having to go through the pain of carrying a bulky SLR.
And as you can tell from the pictures above, the NEX can take SLR photos without all of that bulkiness that advanced users may have gotten used to.
If you are interested in the NEX-5, please click here to read my full review and purchase it.

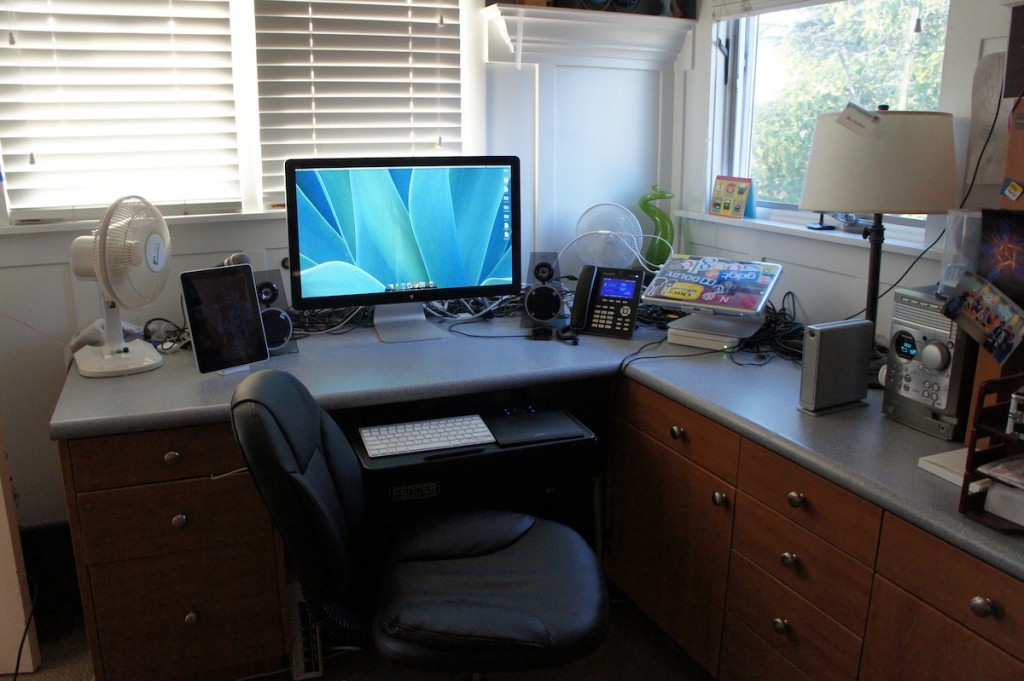
LED Cinema Display (27 inch)

Monitors are quite important when it comes to computer equipment. Besides speed, the only other thing that really matters is what you’re staring at all day. People often want to get a really nice, large monitor, so they have space for all of their windows and applications. Different things matter to different people – some people it may be about size, so they can fit as much as possible. Sometimes it may be color recreation, so you get the most precise experience for editing photos possible. For others it may be response time for gaming.

If you fall into any of these categories, I’d like to introduce you to the LED Cinema Display by Apple.

Wow.

27” of hi-definition, LED-Backlit glory. Sold yet?

How about a built in iSight camera, microphone, 2.1 speakers, and a 3-port powered USB hub?

That’s what I thought.

Lets take this thing a bit more in detail.

Design

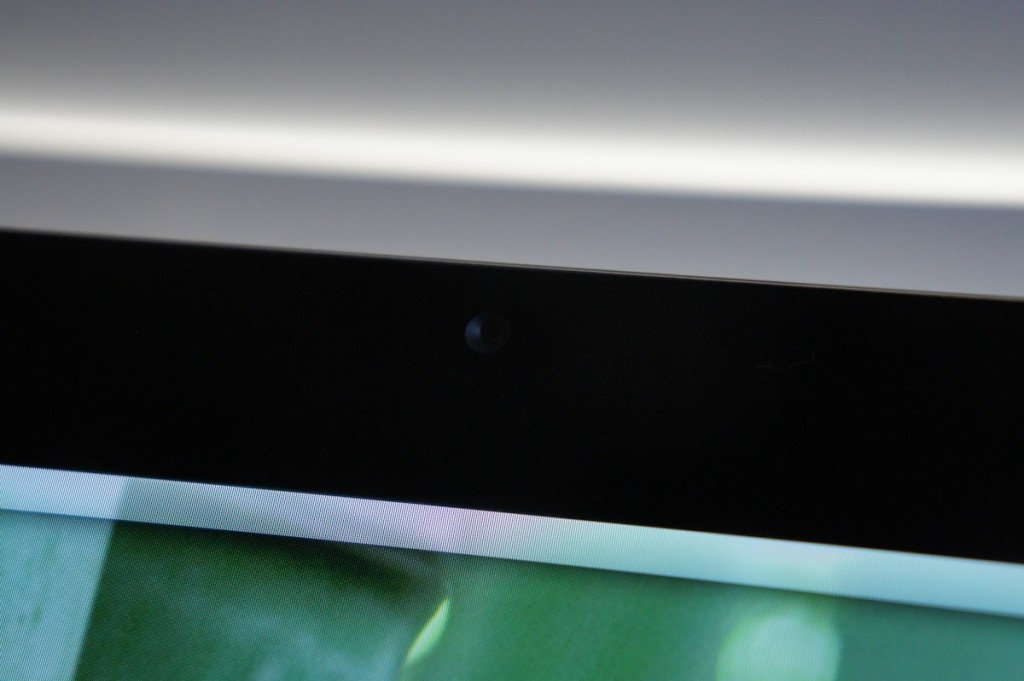
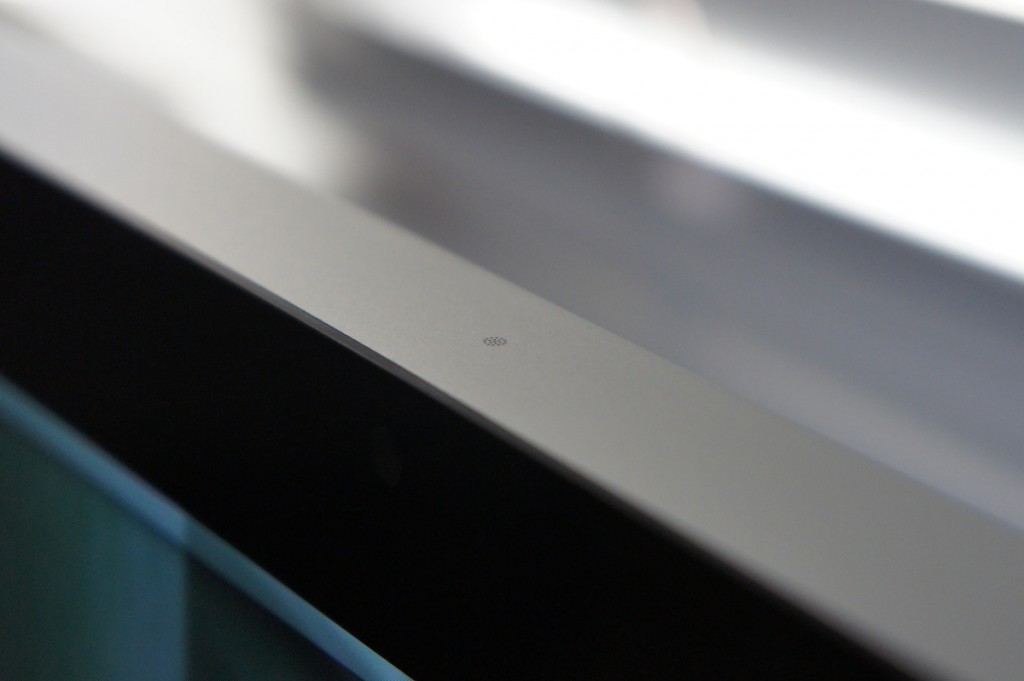
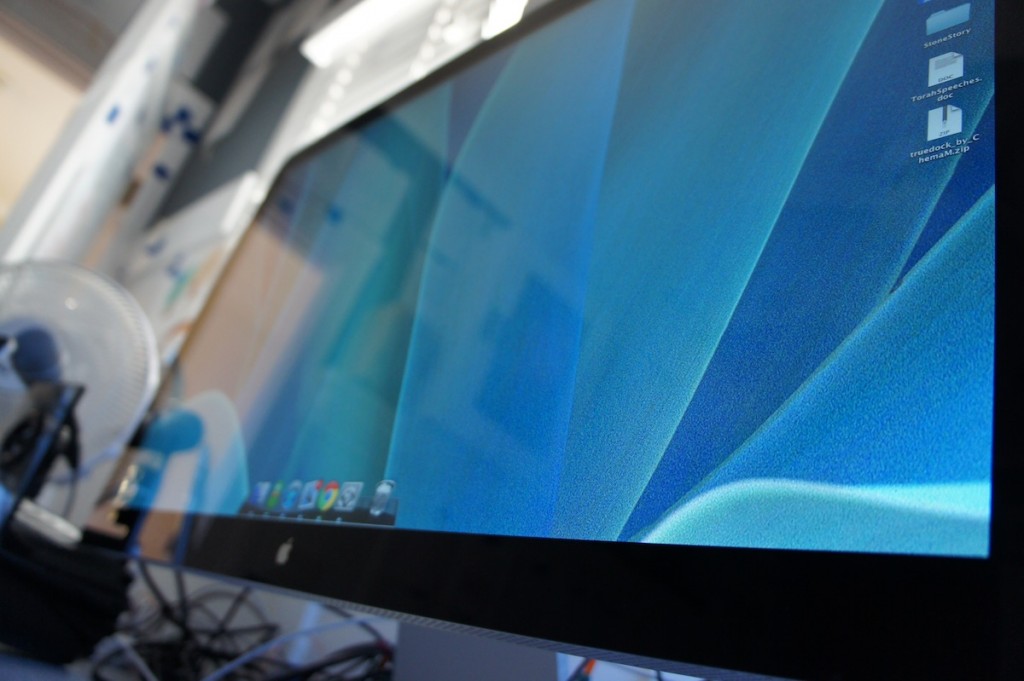
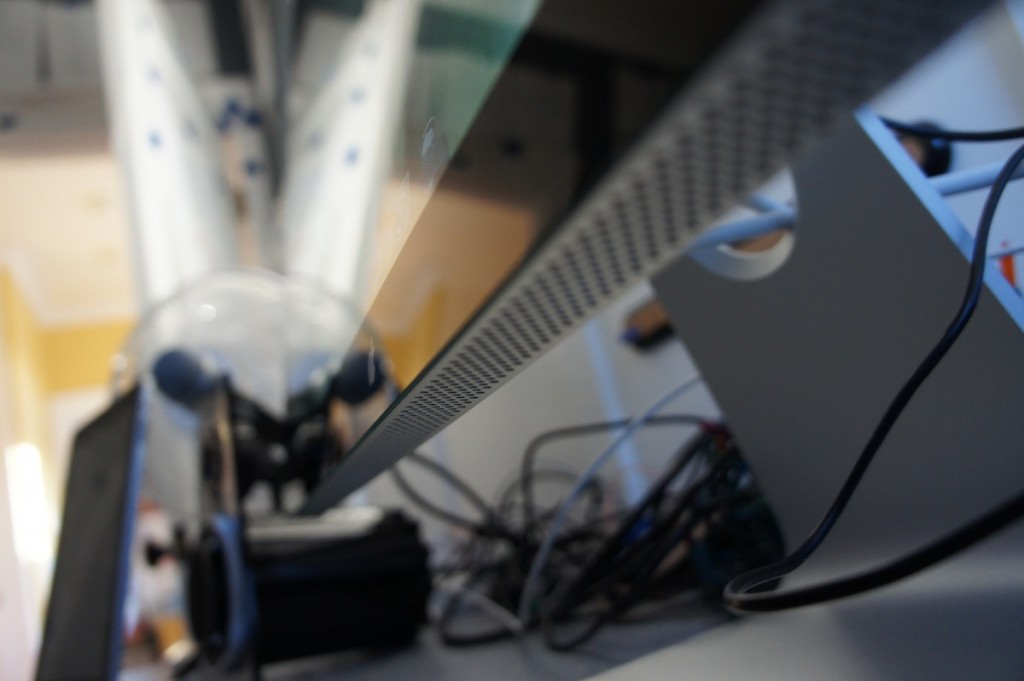
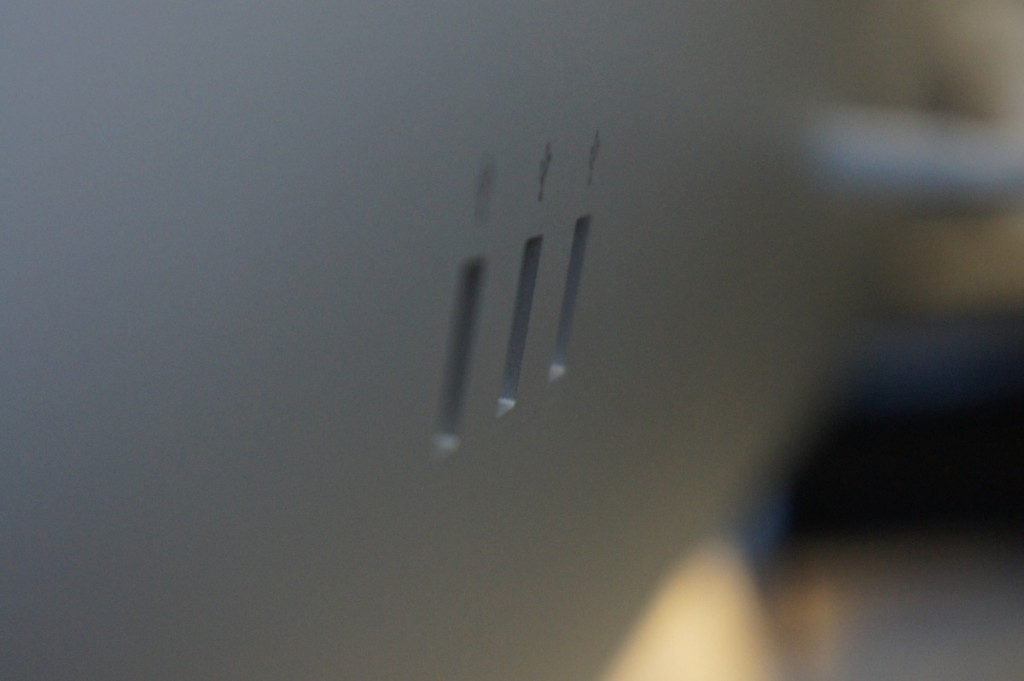
It’s an Apple product. What did you expect? The design of this beauty is simple and seamless (as usual). Looking at the monitor you are greeted with beautiful, edge-to-edge glass with a nice black bezel underneath. The iSight camera is embedded beneath this glass. Look down, and you see a thin, clean, pure aluminum stand. On the top, you find a very small grid where the microphone sits. On the back, you find two cables coming out, and 3 USB ports. The rest is all aluminum. Wow.

Display

As I said, 27 inches of LED-backlit glory. Yes. The display is EXTREMELY bright, and at times hurts my eyes if turned up too high. The colors POP like nothing before, and the 2560×1440 pixels doesn’t do any harm either. The 12ms response time isn’t particularly impressive, but there was absolutely no ghosting in any of my tests. video play-back was clear, and the monitor boasted quite impressive, even blacks. Basically, this screen WOWS.

Extras

This monitor is a bit more than a monitor. The iSight camera works pretty well, and sends a pretty clear image. The microphone on top is a quite welcome addition, and definitely comes in handy when my laptop is closed. The quality is on par with the built in microphones in the MacBook lines. The speakers aren’t worthy of too much notice, but are definitely much better than built-in laptop speakers. They aren’t QUITE as nice as my 1300 watt surround sound system, but they will do the trick for those not so picky about their audio. The USB hub is powered, so your computer doesn’t need to be connected to charge all of your USB devices.

Setup

What kind of GMG review would this be without the setup instructions?

Unfortunately, if you don’t have a Mac built during or after Late 2008, you won’t be able to use this monitor. There are no hopes for PC users, so if you are I’m sorry for making you salivate so much just to disappoint you with the news of the incompatibility.

But if you do meet those requirements, then you’re definitely in luck!

As I said, on the back of the monitor there are two cables coming out. One of them is power, which plugs into a grounded AC outlet. The other sprouts off into three cables: MagSafe, USB, and Mini DisplayPort. The MagSafe is so that you can charge your MacBook, and you can leave your charger where it belongs: in your bag. The USB port allows the USB Hub on the back to function properly, and it also connects the iSight camera and Microphone. The Mini DisplayPort is how the video is transferred to the monitor.

Setup beyond this is pretty simple. Just plug everything in and you’re ready to go. The display automatically has the correct settings, the iSight camera and Microphone simply work, and your computer is charging. Great!

One thing I’d like to note about this display is that it has absolutely NO on screen controls. NONE. It doesn’t even give you any notification when the signal is lost, or anything along those lines. It’s either on, or it’s off. Everything else is software controlled, and you can change your preferences for the monitor in the Displays Preference Pane. The brightness of the display is controlled through the preference pane and can also be controlled using the function keys on the Apple Wireless Keyboard.

Conclusion

Overall, Wow. The monitor is beautiful with any setup, and the design of it is just plain breathtaking. Photos and videos look amazing. The brightness of the display can give me a headache. What’s not to like?

There are two main downsides to this monitor. The first would be the glossy screen. Some people may hate this screen, and if you’re using it in an area of direct sunlight, this is probably a pretty bad choice for you. The second would be the price. Very few people I know are willing to fork out $1000 for a monitor. But if you are, and you don’t have a problem with the glossy display, and you have a compatible Mac, you can stop your salivating and go take a lick (make sure you wipe your display after though).


Using AirPort express for AirPlay alongside a Time Capsule

You may remember that a long time ago I reviewed the Time Capsule. It’s a wonderful wireless AP, and all of my data is totally safe.

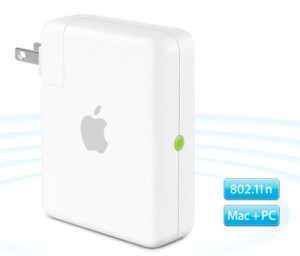
But the Time Capsule doesn’t have AirPlay. On AirPort extremes and expresses, there is a headphone jack, and when connected, you can wirelessly stream your music to your speakers from your iDevice.

I’ve had an airport express for a long time, but I stopped using it when I got my time capsule. After hearing about the AirPlay improvements, I decided to break the thing out.

The AirPort Express creates its own WiFi network, and if I’m connected to that then I won’t be able to backup to my time capsule. Luckily, it is now possible to plug the AirPort Express directly into the Time Capsule, and have them both work as the same wireless network. This means that I can stream music AND backup at the same time!

With this all settled, you will now see the AirPlay icon appear on all of your devices. From this point on, it’s all extremely easy. Just tap the icon and up pops a menu of all AirPlay devices on the network. Tap the speaker system you wish to stream to Voila, we have wireless music!

If you’re on a computer, however, you can only stream your music from iTunes. That is, of course, unless you have an app called AirFoil.

This allows any application on your computer to output sound to your AirPlay speakers.

However, there’s a small issue.

There is a two second delay between when you cause the sound to happen and when it actually comes out of your speakers. On the iDevices, the movies are in sync because they are decoupled 2 seconds back. When you change the volume on your computer, you will see the small notification popup, yet you won’t hear anything for two seconds. Quite annoying.

For videos, AirFoil has included the “AirFoil Video Player.” I don’t know if it’s very good, as I can’t even get it to work without freezing and crashing.

In general, this system is simple and functional. But if you’re trying to stream content from your computer, you will notice an extremely distinct delay. It’s not like that audio quality isn’t good, so all audio (including pandora and other streaming services) work fine.

AirPort Express

AirFoil

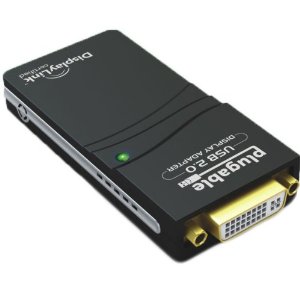
Plugable USB 2.0 USB Graphics Adapter

Monitors are an increasingly popular thing. They increase productivity, allow more room for multitasking, and prices are rapidly decreasing.

The poweruser knows:

I can buy a computer with a graphics card with multiple ports on it so I can plug in multiple monitors.

But I hear:

I am going to buy a large bulky computer that i$ really expen$ive $o I can plug in multiple monitors.

So what about the people who get a laptop, and use an external monitor with it, but want more?

That would be me.

There’s only one monitor port on my computer, which was already taken.

So for my third monitor, I used an old Mac Mini that I had lying around.

But the problem with this is that it was a totally different computer, so all of the logins were different, I had to use a network based mouse and keyboard sharing system, it was just terrible. And worst of all, all of the files on each of the computers were different. So when I wanted to open a document on my third screen that was on my first computer’s hard drive, it wasn’t possible without moving around the file first.

Alas, there is now a solution. And the title of this post says it all.

The Plugable USB UGA (Usb Graphics Adapter I’m pretty sure) works just like it should.

In the box

  • Plugable UGA
  • DVI to HDMI Adapter
  • DVI to VGA Adapter
  • Mini USB cable

Setup

Lucky for you, setup is fairly easy.

Before you do anything else, you need to go to the displaylink site and download the Mac drivers. Luckily, there is only one option for a driver, so you don’t have to make that half-minded decision on which one will actually do the trick.

After you have installed the driver and restarted your computer, you can start plugging things in.

As expected, use the mini USB cable to plug the UGA (the biggest piece) into your USB port. Then, plug in your monitor cable, using any adapters if necessary. If your monitor is DVI, then you won’t need any adapters and you can plug your cable straight into the UGA.

If your monitor is VGA, then you can just add the DVI to VGA adapter on top of the UGA, then plug your monitor into that.

Voila, it should start working. Your screens should turn blue and another wallpaper should appear on your USB Monitor.

For further configuration, just go into your System Preferences, click Displays, and click Arrangement. You can arrange your monitors so that they are extended displays and you can move your windows across all of them.

Speed and Usage

As stated in the owner’s manual, when there is nothing happening on the screen, the device itself is refreshing the display. This means that your computer isn’t working to refresh the display.

You can tell that only the device is refreshing when the green light on the UGA itself is solid. When it is flashing it usually means that something is moving on the screen. This means that your CPU is working to move every pixel over to the USB monitor. Because of this, you probably don’t want to run too heavy graphics on the display, as you will most likely overload your CPU.

Besides the CPU load, the speed isn’t perfect. It’s a tiny bit laggy, but not enough to be too concerned about. It works perfectly fine for things like facebook, browsing, spreadsheets, word processing, all that usual stuff. However, don’t try to use it for anything that involves games, videos, or a ton of pixels being constantly rendered.

However, you can’t be too disappointed. It’s not enough lag to make you not want to use it anymore (and I’m very sensitive about my lag, so that’s really saying something). Anyways, it’s going over USB 2.0 for god’s sake! It’s running a whole monitor off of two connectors (there’s four connectors in a USB port, 2 for data 2 for power).

One other thing I noticed was that the device got quite a bit hot when running. I don’t know if it was out of it’s operating range, but it was still quite a bit warm. It worried me a little bit, but it doesn’t seem to lower in performance even when warm, so I don’t think this should be too much of a concern.

And if you want more monitors, this isn’t just the end. You can have up to 6 of these connected to your computer at once (hopefully your CPU can handle it), which means that if you have a laptop with a monitor port built in (which would make two screens), then you can have up to eight screens running off of nothing but a laptop! (You can plug the UGAs into a hub, as you probably don’t have six USB ports on your computer.)

Conclusion

If you want more monitors but don’t have the graphic cards, this is the best way to do it. The resolution and color renders perfectly, and even though it uses some CPU when rendering, it works perfectly for spreadsheets, word processing, and other basic tasks. What it doesn’t work for is heavy graphics rendering, such as video and gaming. Use a directly connected display for those.

These are compatible with windows and linux in addition to mac, so you mac haters are in luck.

They are for sale on amazon for $65, and you can find that here.

Creative at CES 2011

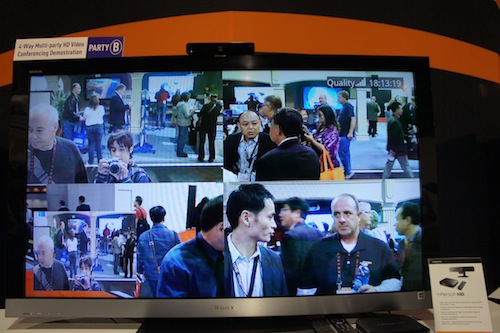
Creative is known for it’s video cameras, software, etc. At CES they released a competitor to Cisco’s UMI called InPerson HD. It allows you to have up to a four way HD video conversation right from your TV.

InPerson HD works with a seperate box from your telivision and requires a subscription to use the service. The subscription price ranges from $10 to $40 depending on the flavour you select from single point to point to 4 person multipoint.

Here’s a picture of what it would look like if you were using it:
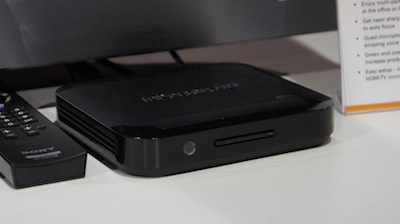
This service runs on a box that is powered by android which looks something like this:

This whole setup is scheduled to be released to the public in the second quarter of 2011. The box will cost about $500 (same price as the currently available InPerson which is mostly a video chat only laptop) plus the subscription.

Rain Design mStand

I finally got fed up with having to have my laptop sitting on a couple of pieces of wood. I wanted something sturdier that also freed up some desk space. So I got the best laptop stand I have ever heard of, the rain design mStand.

The mStand was designed to go with the series of aluminum MacBook pros, so it went great with mine.

This thing is simple. Look at the design.
Simple. It’s just a single piece of aluminum!

The whole thing is a hunk of fairly thick aluminum, but to avoid scratching the whole thing is nicely padded with rubber.\

It has a small hole in the back that you can put your cables through to try and keep things a tad more organized.

It works with all laptops, and will work with even the full sized 17 inch MacBook Pro.

Unlike some other stands, this one doesn’t have arms, so it ends up being much sturdier.

Luckily, this thing both keeps the MacBook in place and doesn’t let it slide off, but doesn’t block you from opening the computer, the IR sensor, the CD slot, or anything.

So now I’m trying to think of what else to say. That’s pretty much it. Aluminum, nice design, simple, matching, that’s it!

I love how the simplest things are the best and don’t require me to type a long review 😉

You can go and get yourself one of these things for just $50, right here.

I love mine. It makes my desk look so much cleaner and brings my MacBook to the same eye level as my monitor.

Sony NEX-5

Over the past few months I have seen so many great photo oppurtunities that I have had to miss out on because I don’t have a high enough quality camera. Yes, an 8 megapixel camera on my phone is nice, but you can still tell that it’s a phone picture. The features just aren’t advanced enough for you to get the perfect shot.

So I decided to invest all of the money I had into this camera (so don’t expect many paid reviews for a little while) and let me say, I’m happy with the results.

When you take a look at this thing, you do a double take. If you have half of the picture you see a compact digital body. The other half looks like a DSLR lens. And take a look at the whole thing and holy crap, they’re just stuck together.

Now let me note that this does provide one big problem: It doesn’t fit in any standard case. The lens will NEVER fit in a compact digital case, but the camera is flying loose in a DSLR case. Luckily it does come with a shoulder strap, but that still leaves the body exposed.

Lets get into the details.

Design

The design of the NEX-5 is an interesting concept that bridges the compact digital and DSLR worlds. It features a standard compact digital body but with a few twists.

DSLR like features:

It features a full APSC sized sensor that is found in DSLRs and also has a mirorless design. They kicked the image stabalization out of the camera body and are packing that into the lens.

Speaking of the lens, it’s interchangeable.

Now having interchangeable lenses is what really puts this camera farther towards the DSLR type cameras. The lenses are a bit smaller than full size DSLR lenses but they are still pretty large for the size of body.

Compact digital like features:

The NEX-5 is very much so also like a compact digital camera. It features a very tiny little body that without a huge lens looks very much like a compact digital. Another thing would be the lack of viewfinder and the inclusion of a gorgeous large and vibrant LCD panel.

It doesn’t feature many physical buttons, so all of the features must be accessed through contextual menus.

Overall the design of this camera has advantages and disadvantages. The camera is nice and small and light and features the flexibility of interchangeable lenses, but you lose an optical viewfinder and many physical controls.

Interface

As I mentioned the camera settings mostly have to be set using contextual menus on the screen.

One of the big catches that sony puts you through is having two menu items: one for camera and one for brightness/color.

If I want HDR, which one do I go into?? If I want to change the autofocus which one do I go into?? You have to answer these questions mostly by just playing around with the camera. Unfortunately this also means that every time you want to change around a feature you have to sort through these menus which can become a real pain if you just want to quickly change something to get that perfect shot.

But there’s another HUGE pain. This one will REALLY annoy you.

NO FLASH!!

Actually, that’s a lie. It does come with a flash but you have to attach it using the proprietary “accessory port” on the camera. So you have to plan ahad that if you’re doing night shooting to bring that little flash with you in your pocket.

Another huge pain with the interface is that sometimes a function is “disabled” but it wont tell you why. For example, if you go to the settings to change the flash but it says “this function is disabled” you know that it’s because you don’t have the flash plugged in.

But it’s not always that simple. One example would be that it wouldn’t let me enable Auto-HDR (where it takes three pictures of different exposures and combines them) and I couldn’t figure out why. All it would tell me is that “this function is disabled”. After an hour of research I finally found out that it was because I was shooting in raw not jpeg. Life would be so much easier with this camera if it could just tell you why something is “disabled.”

Features

The NEX-5 has many features that you would find on a full size DSLR.

Of course one of the big parts of that would be the interchangeable lenses. This adds a huge amount of dslrness to this camera.

It also features the usual stuff you would find on a dslr like HDR, image stabilization, raw, etc.

But a couple of things really stand out.

Set to shoot at JPEG, this camera can do a burst of 7fps. That’s pretty damn fast.

Now the amount of time that it can do a burst like this depends on the class of SD card you have in the camera and after a little while it will start slowing down.

Something that makes this camera different from the others is that it’s mirrorless. This means that there is no mirror that flips to expose the light to the CCD sensor, instead the CCD is smack in front without a mirror or anything. This was mostly done to keep the body of the camera even smaller. But instead of having a mirror it has a shade like thing that comes down and back up, which is what makes a distinct clicking noise.

And last but not least on my features list would be the screen. It’s more than just a standard screen it can do more.

In addition to being a ridiculously hi res screen (900,000 or so dots), it can also adjust. So you can tilt the screen up (80º) to take pictures from lower, and you can tilt the screen down (20º or so) to take pictures from higher. This has proven REALLY helpful, as I can hold the camera at my waist and look at the camera screen and take pictures with it without too many people noticing (creepy, but good).

Picture Quality

This is perhaps the most important thing when it comes to a camera. And let me say, I’m pretty impressed with this thing.

I took my best shot ever with this camera on auto. I didn’t stage it. I was just there taking hundreds of photos with joy. Check out this photo.

Best picture ive ever taken.

As you can tell the lens flare adds a nice effect.

Look at the quality of that picture. the colors are great, the focus is great, everything about that photo is great.

The pictures you can get out of this thing are amazing. The auto setting works perfectly for taking lots of photos without much notice. This is the kind of camera that you can bring with you everywhere you go and still take great pictures.

For more samples, check out the photoset of mine on flickr that has all of the pictures I took at a place behind my house called the NOLG.
Created with Admarket’s flickrSLiDR.
Those are some pretty cool shots. All of those were taken in auto mode.

Value

Now theres a brother to the NEX-5, which is the NEX-3. It has a less pronounced grip and is made of plastic and can’t do full HD recording, but other than that, it is the exact same.

Now the NEX-5 seem pretty overpriced. You can get the NEX with a 16mm fixed lens or the 18-55mm lens.
Here’s a pricing diagram:

NEX-3 NEX-5
16mm $500 $650
18-55mm $550 $700

As you can tell they can be a tad pricey.

One thing that sony doesn’t make clear is that if you go for the cheapest model, you won’t have any zoom!! So make sure you are careful when choosing which model you want 🙂

Go get yours at Sony

Monitor Configurations

If you are a multiple monitor maniac, you would know that sometimes it’s hard to decide to put your monitors. Placement can depend on use, ergonomics, functionality, placement of speakers, space, and available equipment.

I’ve gone through many different monitor configurations.

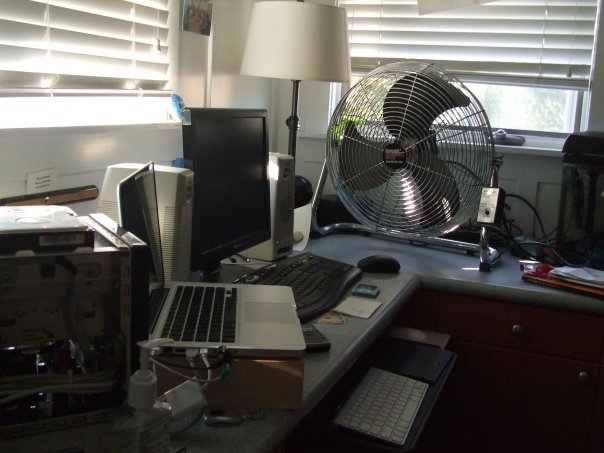
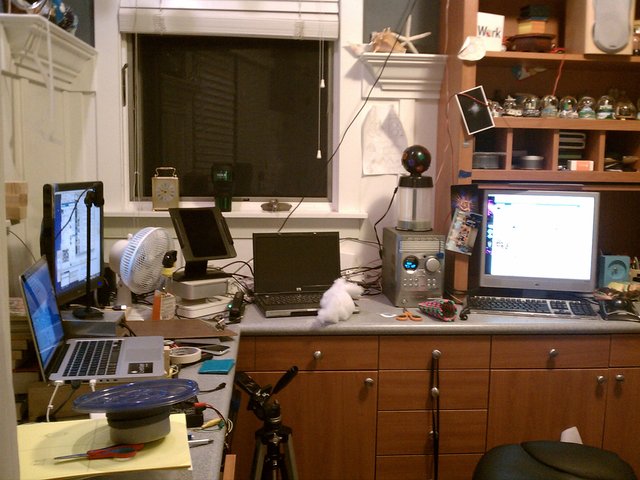
My first ever multiple monitor configuration looked like this:

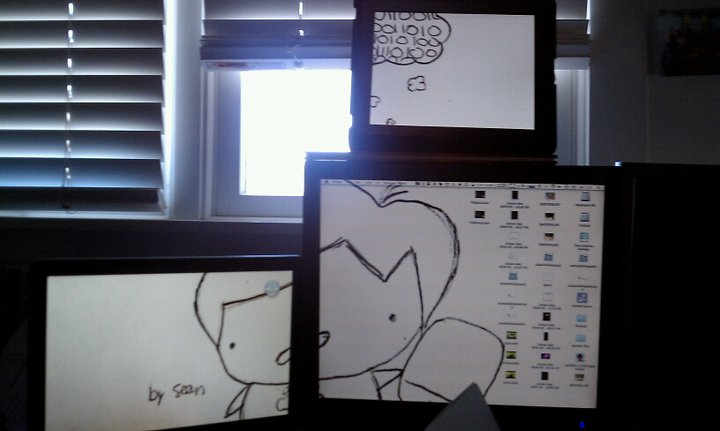
Then I decided to kick out the PC and attach my Mac to that monitor.  I also found out that I could use my iPad as an external display.

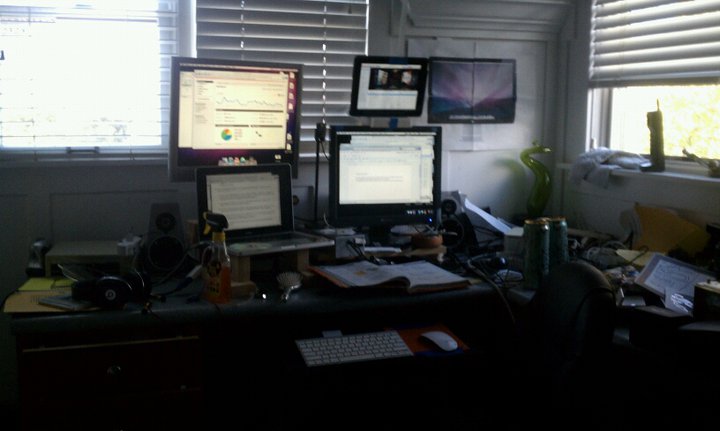
TAfter this configuration I got another Mac that I decided to use for all of my media. So I added that to the mix and for the first time I rose up the monitor over the others, and it created a four monitor grid.

Then I decided to take the two laptops i had and make it two rows of three.

And then I did something crazy. I put the monitor from the top left on the opposite side of my desk and got rid of those two laptop screens.

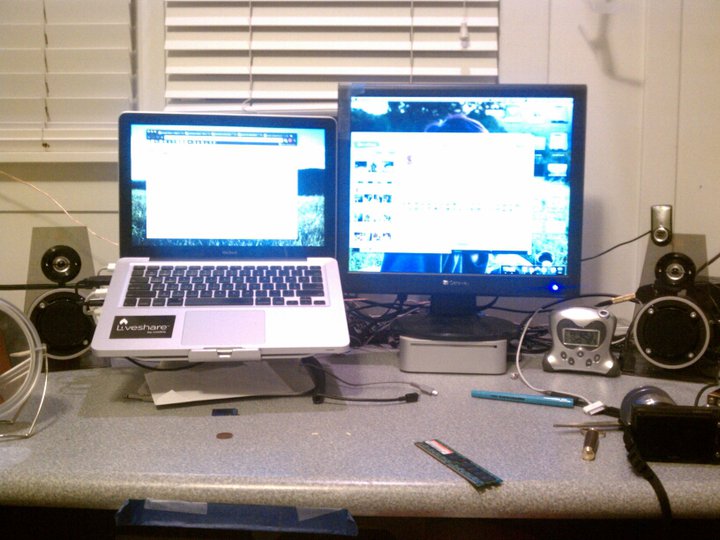
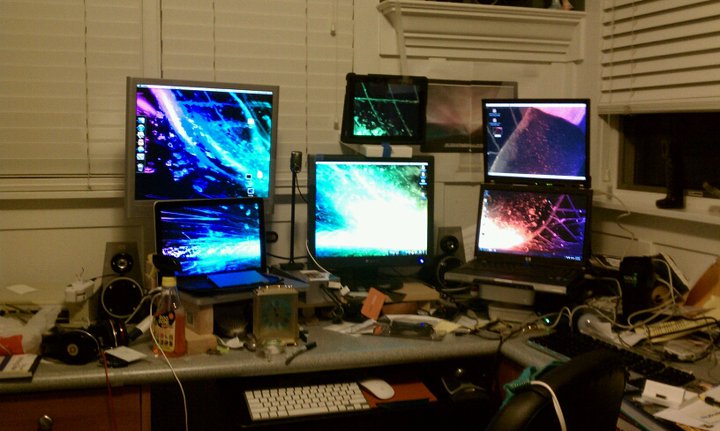
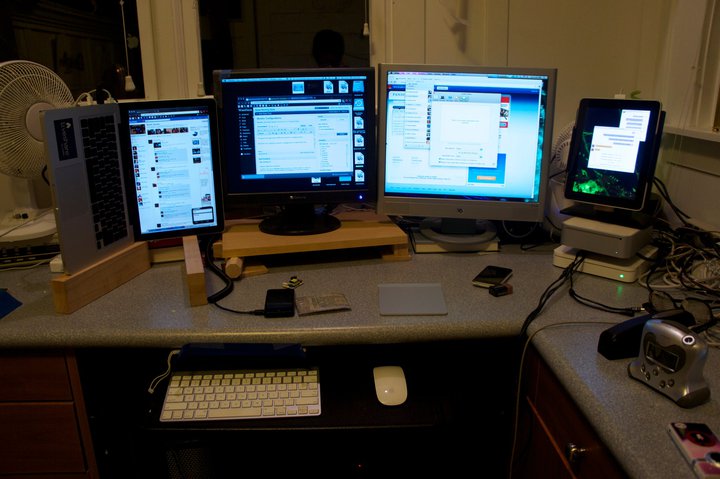
But tonight I decided to pull it all back together. And I ended up with:

As you can tell my MacBook is sideways. But the screen is rotated so i can actually use it properly.

This was not easy to do. In the system preferences pane they don’t give an option to rotate an internal screen, so you have to download a third party app called Display Rotation Menu and change the rotation from the menubar of your computer.

So that’s the story of monitor configurations. Different ones have been cleaner than others, but I just wanted to post about the emphasis that monitor configurations have. My current one has proven to be the most productive so far because I don’t have to move around to work on all of my monitors.

The art of continuous shooting

Continuous shooting is great.

For those who don’t know exactly what it means, it is when you use a camera to take shots as fast as possible. Because the shots are so high resolution it can’t be as fast as video, but if you are trying to take a picture of something moving it can help you to increase your chances of getting the right shot.

In general, most cameras can do around 5 frames per second.

My new nNEX-5 can do a burts for a second or two of 7 frames per second, and it also depends on the class and write speed of SD card you have in the camera.

But if you want to take a lot more pictures in a row it does about 5 per second.

Now a cool thing about this is that you can walk around or through a town taking pictures like this and then ut all of the pictures. You obviously can’t tell it’s a video, but it gives it a creative aspect (especially with the right soundtrack).

I was at my friend Gustaf Soderstrom’s house and of course he took my camera and decided to walk around with it. The pictures were kinda uneven, but he inspired me to use the continuous shooting to make a tour  of his house.

Now a tour of a house with standard 30fps video without sound would seem really boring. But if it’s a stop motion video with a cool soundtrack then it ends up looking kinda cool.

Feel free to comment with a link to a video that YOU did with continuous shooting. 🙂

Create a spanning wallpaper

So I have expanded my setup recently to six screens, and one of the fun things about having a lot of screens is that you can make a wallpaper span across all of them. There are apps that do that, but they can’t span across different computers. Here’s to do it the manual way.

To do this we will take a single large wallpaper and split it up into individual pictures for wallpapers for each screen that you are spanning across.

1. Pick a picture

The wallpaper doesn’t have to be too large, but one that was made to fit a very large monitor always goes best. I’m using an image that is 1920 pixels wide.


2. Find screen resolutions

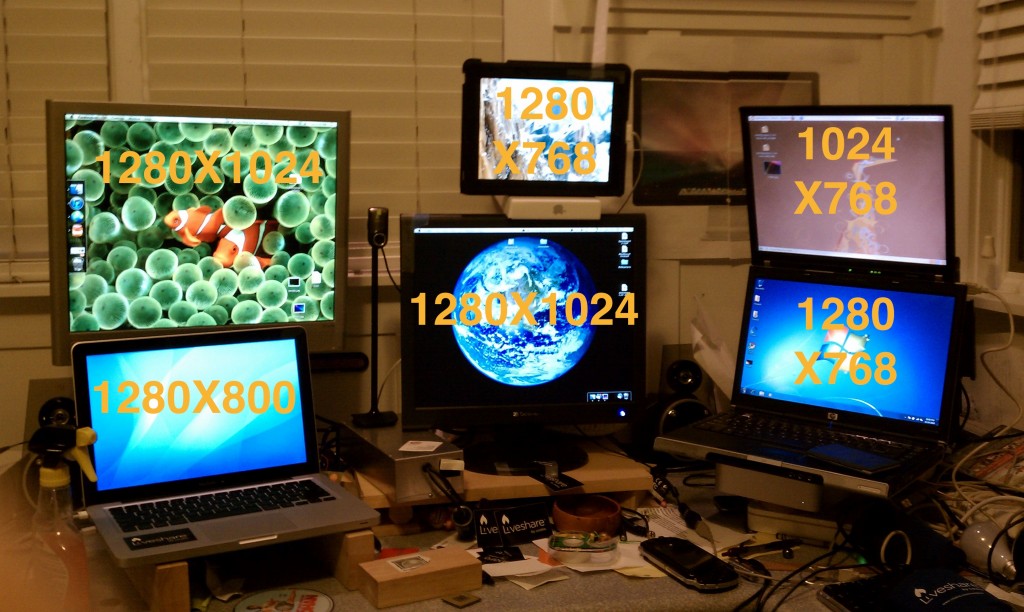
This is an extremely important step in the process so you know the proportional size of each chunk of your source image. The resolution can be found in the display preferences of every computer (or screen resolution preferences). Here’s the resolution of all of my screens:

Once you have that all worked out, time to break out photoshop.

3. Cut your pictures

Warning you: this step takes a little while.

Before you can start cutting your photos, you need to know the proportions of your screens. This can be done with a good old fraction simplifier.

Just visit this site and put in your width into the top of the fraction and the height into the bottom. Then select to have the result as an improper fraction. You may want to name each screen screen 1, screen 2, and so on. Find the result of each screen resolution.

Then, open your source picture in photoshop. Select the rectangular marquee tool and where it says style select fixed ratio. Where it says width and height put in the top and bottom of the fraction you got out of the simplifier.

I’m going to start with my first screen which is 1280X1024, which according to the magic simplifier comes down to 5/4. So I am going to put 5 and 4 into photoshop, then start to select what you would like to be for your first screen. Because my first screen is the top left, I want to select in the top left of the picture.

Once you have the selection, create a new document called wall1 and make it the size of your first monitor.

So now you need to go back to where you made your selection and hit copy, Then, take your paintbrush tool and color over it. This is so that when you make selections in the future you know where your screen will be.

Then, go into that new blank document you created and paste it. Use the free transform tool and move the edges of the pasted selection to the edges of the canvas. Save and repeat for every single one of your screens.

Done yet?

If so, you should have  a bunch of files named wallX.psd (which you should also convert to JPG) and a bunch of black squares on your source file.

Now you have to distribute those files to the appropriate computers. You may have to use a USB stick but I have FTP and a web server so that makes it easy.

Once you have all of the wallpapers set your result may vary depending on the spacing or irregularity of your monitors. With mine you can still see it but not that well.