Wireless Tether with Droid Incredible

So let’s just say that you are driving somewhere and you have your computer (or iPad or iPod touch for that matter) along with your droid incredible. Well now for free (actually, the expense of battery life) you can use your Droid Incredible as a wifi tether, so you can have an iPad on verizon.

Sadly, the speeds are dramatically reduced to a groping 70 kb/s. But I think it’s better than nothing. Can load pages, not so great for downloads and video/audio streaming such as youtube or pandora.

Step 1. Make sure your phone is rooted. Just do steps 1-4 of the tutorial HERE (continue the steps to install android 2.2, if desired!).

Step 2. On your incredible go to THIS LINK (try using chrometophone, review on that soon!)

Step 3. Once the link is downloaded open it and install the application.

Step 4. Open the application on your phone.

Step 5: Press menu and go into the settings and change around your preferences. change the SSID, and add a passphrase. Enable access control if desired.

Step 6: Press the big tether button.

Step 7: On your wifi enabled device go to the network selection and select the nework name that you had entered in the SSID preferences. Enter your asscode and Voila, you can connect to the internet!

One of the cool benefits of this is that you can be on the internet while in a car. Cool, eh?

How-to: Install Android 2.2 (Froyo) on Droid Incredible

NOTE: I DONT TAKE ANY RESPONSIBILITY FOR LOSS OF DATA ON YOUR PHONE!

Thank you droid life, you have a build of froyo for droid incredible. Cool!

The only problem is that you have to be rooted. And from what I hear that is a command line disaster. Here I’ll show you how to root and convert to android 2.2 simply and easily. You’ll have to have a USB cable and an SD card in your phone. Sadly I can’t give you screenshots for the whole process as this can’t be undone. But I’ll give all of the screenshots I can. So here goes!

WARNING: THIS PROCESS MAY OR MAY NOT BE REVERSIBLE. THE ONLY BUG I’VE FOUND IS THAT GPS NO LONGER WORKS. DO NOT PROCEED IF YOU USE THE GPS FREQUENTLY (HOWEVER AN OFFICIAL RELEASE WILL NOT HAVE THAT PROBLEM SO IT SHOULD BE RESOLVED IN A FEW MONTHS)!

Step 1:

Download this zip. Once it has started downloading proceed to step 2.

Step 2:Backup all of the photos and videos from your phone. This process will indeed wipe out your whole phone and make it brand new. I am not responsible for anything that happens to your data!

Step 3: Download THIS application for mac, and THIS application for windows. These are the unrevoked.com reflashers.

Step 3a: Open the reflash application on your Mac or PC. I will show the process for mac as I assume that it is similar for Windows.
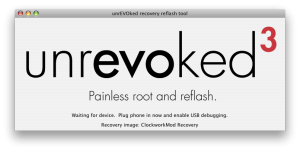
Step 3b: Plug in your phone to your computer with the USB cable.

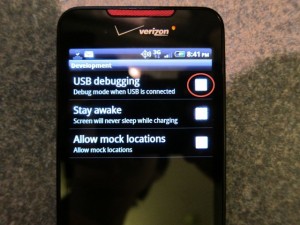
Step 3c: On your incredible go to settings>Applications>Development and enable USB debugging.
There’s no turning back now, as things will start to happen. Your screen will be flashing terminal commands and all this crazy stuff that I couldn’t explain. Once it is done you should be shown a screen like this (if not, you should be on a white page with skateboarding android logos and select recovery from that list, and if not that, boot up while holding the optical trackpad button and select recovery from that list, and if not that then select bootloader then recovery to get to this list):
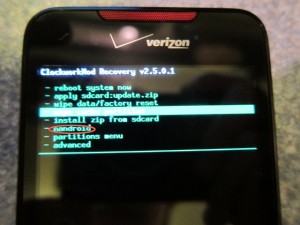
Step 4: You are now rooted! At this screen scroll down and select nandroid. from here click backup and let it run. When it is over reboot. I’m *pretty sure* that it should just reboot into 2.1. using nandroid backs up all of your data just in case something goes wrong so you can restore.

Step 5: Your download of the zip should be complete by now. Plug in your incredible to the USB cable (if it isn’t already) and set the USB mode to disk drive. Then copy that zip over to the SD card (NOT THE PHONE STORAGE! to figure this out your phone storage will be 8GB, the other mounted drive is the SD card!). Copy it to the root not under any other subfolders.

Step 6: Turn off your phone and reboot while holding the optical trackpad.Select bootloader from the list then select recovery. Then select Install zip from SD card.
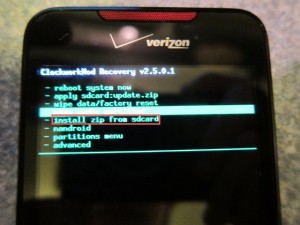
Next, select choose zip from sdcard.
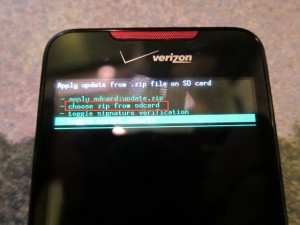
Then, scroll down the list and select the zip that you downloaded.
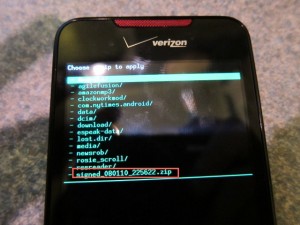
It will begin to install android 2.2, and this could take a few minutes.

After, reboot and you should see this new boot animation
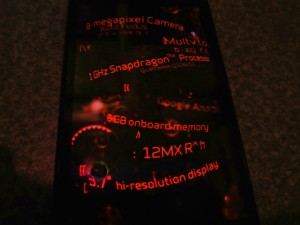
followed by this red eye.
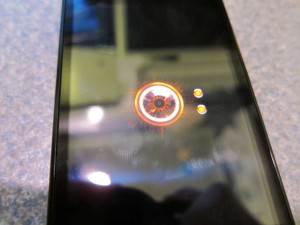
It may hang at the red eye for a few minutes, so don’t freak out (like I did)!

After it boots you will be introduced to android 2.2 with sense. Congratulations! To prove it, go into settings> About Phone> Software. It should say 2.2 under the firmware! Enjoy!

OmniWeb

I’m sorry. I really am. This is, indeed, yet another web browser.

I was recently at a technology summer camp (I’m taking a class about photoshop) and the same instructor that ended up switching me over to macs kept telling me about how mazing omniweb was. I wasn’t convinced until I finally decided to download it.

The first thing you notice is speed. I know that people call chrome fast, and, well, it is. But from tests on Good Morning Geek, it seems as though graphics render either faster or from top to bottom. I’m pretty sure omniweb prioritizes the top of the page for rendering, as the header seems to appear almost instantly, followed by widgets in the sidebar. In chrome, it takes a couple of seconds for the header to appear.

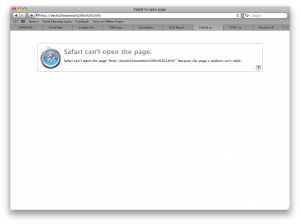
Other than that the big thing is tabbed browsing. So lets say I have a lot of tabs open in Safari. I mean a LOT. In the menubar it shows the tabs as txt, the name of the webpage. But when it gets crowded things get a little harder to make out.

(click to expand) As you can tell, it’s kind of hard to tell which news article that CNN page is about. What if I have ten CNN tabs open but all I see at the top is CNN:…

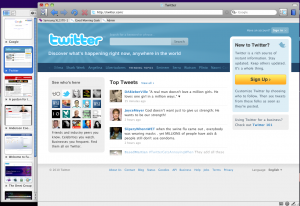
OmniWeb takes a new approach. Thumbnails.

I don’t even need to figure out what the text is trying to refer to, I can just take a glance at the tabs and click the one I want to look at. And even if I have 20 tabs open, the thumbnails don’t get smaller because you can scroll through all of your thumbnails.

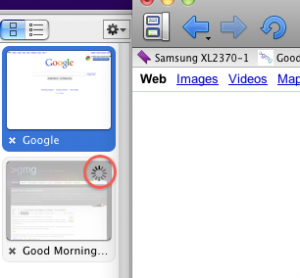
Another cool thing is the ability to load tabs in the background. I know this isn’t new to the field of browsers but I find that the system it uses to tell you that a tab in the background is loading (and when it is finished loading) very unique.

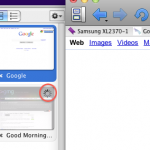
When a tab is loading it is greyed out and has a spinny thing in the top right.

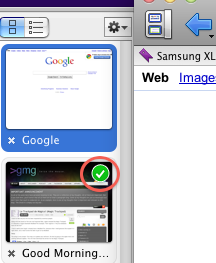
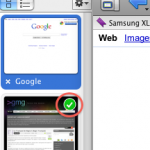
When a tab in the background has finished loading, OmniWeb does a nice job of letting you know.

If you open the tab the check mark wil go away.

Other than that there is one more key feature to this: site-specific browsing options.

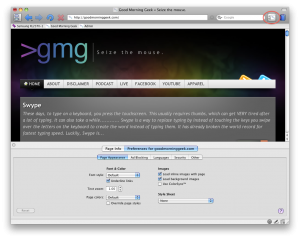
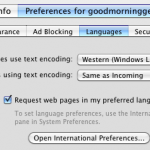
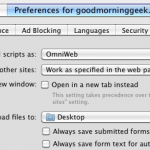
On any website you can click a button in the top right and select your options for ads, appearance, security– let’s just show a screenshot.

The button to toggle the pane is shown in the top right.

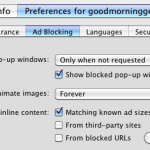
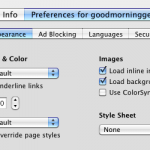
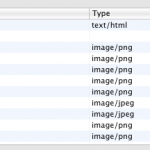
As you can see there is also a page info pane where it shows you all of the images, scripts, stylesheets, and frames on a webpage. Here’s a gallery with pictures of each and every pane, plus all of the other screenshots from this post:

OmniWeb Homepage

OmniWeb Download Page