BOINC

BOINC stands for Berkely Open Infrastructure for Network Computing. And I want to appreciate what they are doing with their Distributed Computing platform.

Basically, you download an app to your computer. And when your computer is not in use, all of it’s power (or as much as possible) goes over the internet to berkely so essentially they have a supercomputer of all of these other computers (hence distributed) to go to cure diseases, detect pulsars, and other scientific stuff. It’s an easy way to donate something that could be extremely useful to the cure. The help of the world. So many other scientific things that will get us farther along and allow us to make discoveries of all sorts.

I think that other than being really cool, the BOINC distributed computing platform is an amazing idea. So many people are away from their computers and they leave the potential of power just sitting there. It’s like donating your computer to UC Berkeley for scientific research, but only for the time when you aren’t there.

This is great if you have a LOT of extra computers around you can join this and put those lazy things to work. I read the idea and I just thought to myself. Genius.

Now what’s really cool is that you can actually select which cause you want your power to go to. There are so many categories (all of which support various operating systems) for you to benefit to.

Unfortunately to get it all working it’s pretty simple but can get kinda complicated.

First, click here to download boinc.

Then click here to go see which things you can benefit to. Then find one that has a cause you would like to benefit too. Then, in boinc, click add project. On the page where you found the cause, look at the name in the left-most column.  Find that name in the window of boinc and select it. It will connect to the project then ask you to setup an account and stuff like that. Once you are done with that, boinc will start to download work from the server. One thing you may want to do is open the preferences and select some limits on how much power of your computer it is allowed to use. I made it so that it would only do work after the computer was idle for 1 minute, because I want all of the power of my computer when I’m using it but when I’m not I don’t find a point in letting it sit there useless. I also only allowed it to use 2GB of space on my disk, as I don’t want too much disk space being sucked up by this cause. I also told it to use only 70% of my computer’s processor as I don’t want my computer to overheat either.

I think that this is a great and free way for people to contribute to causes without having to use money. Enjoy 🙂

Alfred

A wonderful little app with the worst name they could come up with.
Alfred is a Spotlight Alternative. It is similar to quicksilver, but is quite a bit simpler.

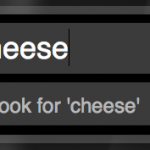
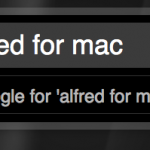
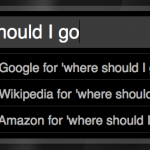
Basically, it is a plain text box that opens on a key command. you can type to search through your hard drive, but if there are no files then you can choose to search through google, wikipedia, or even amazon.

In addition to searching your hard drive alfred can search numerous things.

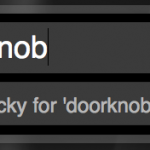
For example, you can type “lucky doorknob” an it will open the first google result for a search of doorknob.

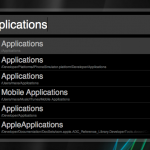
You can also do things like type in a URL and it will open in your web browser. In the screenshots is a list of some of the functions included with the app. You can also create your own which comes in handy if your favorite search engine doesn’t come with Alfred by default.

Now although those functions are useful, it prevails over spotlight mostly because if it’s speed. Everything happens faster for some reason, but let me just say, I like it.

Alfred is free and highly customizable when it comes to interface. Download it from alfredapp.com.

Screenshots:

Android App Inventor

So many of us have absolutely no idea how to code for Android. Heck, barely half of us know that Android is coded in Java!

But Google decided to be nice and create a graphical interface to create your apps with no knowledge of coding.

The app inventor consists of two main parts: The designer and the blocks editor.

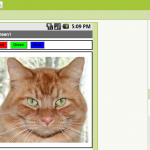
The designer is all about the graphical interface of the app. Unfortunately, it only allows you to create a single front screen, so you can’t go into sub-pages. You can add elements and give them text and make them look how you want them too etc. The designer is actually all in a web browser.

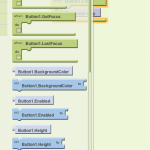
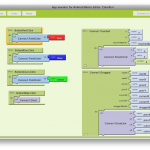
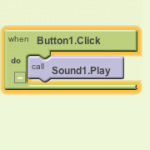
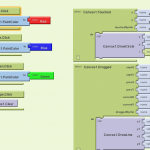
The second part is the Blocks editor. Here is where you edit the functions off all of the components you added in the design view. You put different functions (blocks) together like puzzle pieces to add functionality to things. Unfortunately the documentation isn’t very helpful when trying to figure out how exactly to use these blocks, but I guess it’s possible to learn. The blocks editor is a java application that you can download by clicking a button in the designer.

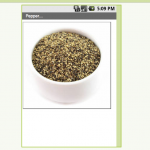
Once you have the apps downloaded, you can enable USB debugging on the phone and plug it into the computer. Then, in the blocks editor you can connect to the phone with a button. Once you are connected to the phone the changes that you make in the designer and blocks editor will appear on the phone in real-time.

Once you have your app built, you can do a variety of things: You can either download the app directly to your phone, save it to your computer, or use a barcode scanner on a phone and download the app from their servers over the internet.

Unfortunately, the apps you create cannot be put into the App Marketplace, and unfortunately they don’t notify you of this. So when you create an app in the app inventor and you want to put it in the android market so you pay to become a developer and all, you will be disappointed to see that your app will fail upon uploading. This is google’s fault, and at the moment there is no way around it.

Basically, the app inventor is a fun way to create simple apps, but don’t expect to be able to put your app into the Marketplace because GOOGLE HATES YOU.

Google App Inventor is only available as a private beta, so you can request an invite and cross your fingers.

Request an invite here

Screenshots:

Uninstall an Android App

The simpler things are sometimes the hardest to figure out. Especially on a platform like Android.

Unfortunately, removing an app is quite the annoying process. But plenty of people don’t mind it so far.

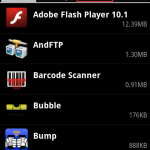
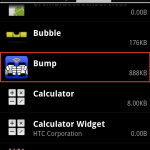
We want to uninstall the application Bump. Here’s what we do:

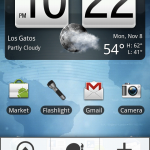
1. Go to the home screen and press menu and select settings.

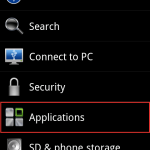
2. Select applications.

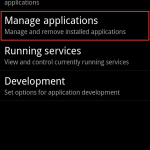
3. Select manage applications

4. Tap all applications at the top

5. Find and select the app you want to uninstall (not alphabetical)

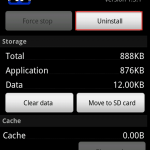
6. Tap Uninstall

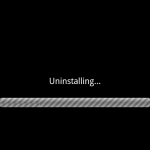
7. Tap OK

If this was difficult to follow along, click through the gallery with screenshots for every step (in order, or course).

Readability

Sometimes we just want to read something plain and simple. But on many sites these days, ads and other things can get in the way of your focus and distract you from your reading. Readability by arc90 fixes this problem by finding the main text and displaying it nice and big, black on white. So you can read your articles distraction free.

Readability is a “bookmarklet”, which is a bookmark of javascript code. Thanks to this, you can use readability by just clicking a bookmark. This is great because every browser in the world has a bookmarks bar, so every browser in the world is compatable with readability.

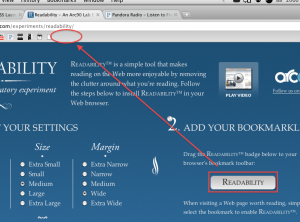
To install readability, click here and choose options on font size, font, etc. Then, just click and drag the big white readability button to your bookmarks bar. Done!

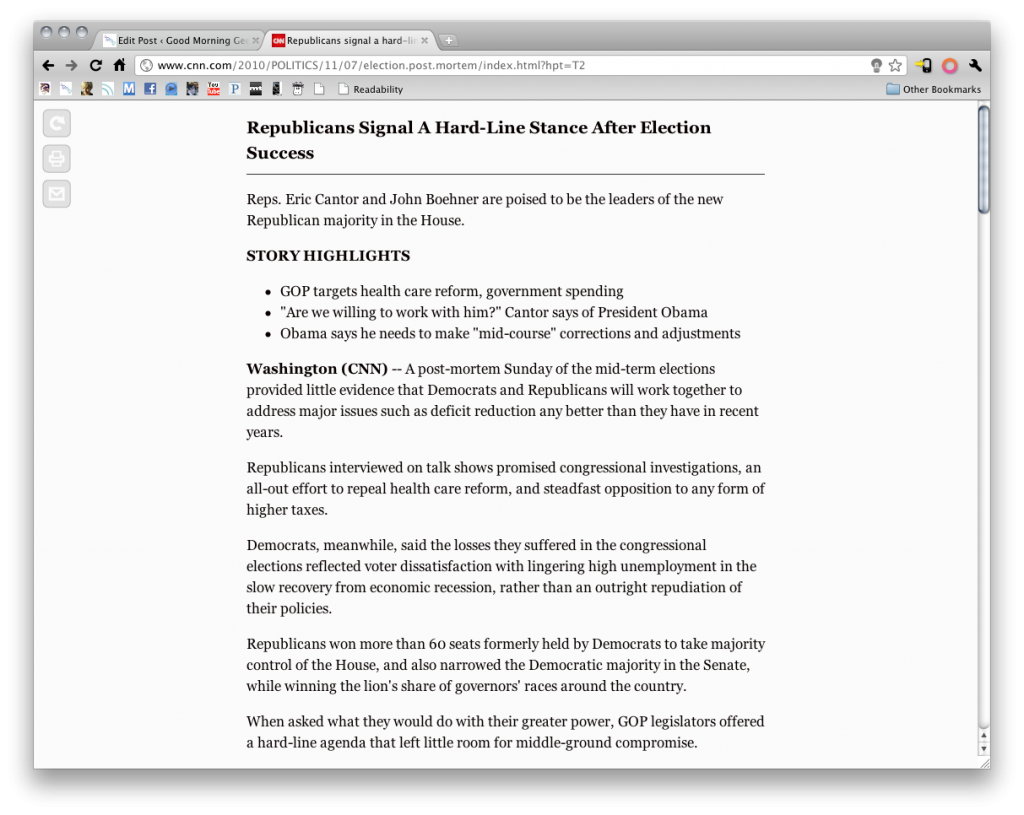
Now, navigate to any article on a website. For this example I am going to use an article from CNN. Once you have loaded the page, click the readability button. ¡Voila!

So here’s the before:

And now, here’s the after!

How to: Awesome mousepad, version 3!

Yes, I’ve already done two posts about creating your own amaing mousedpad that’s better (and cheaper) than the ones you can buy at a store. But here’s another one in case you don’t want to put together a whole thing with aprchment paper ducs tape and spend more than 2 minutes on.

Here’s what you’ll need:

Plastic folder

SHARPIE

Blue/duct tape

Scissors

The folder can't be rubber, make sure it's plastic!

This is by far the easiest one to do, and works just as well. Here’s what you do:

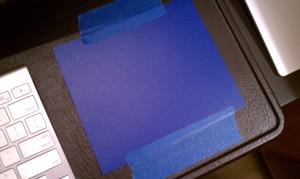
First, use the sharpie and maybe a ruler to mark on the front what size you want to have your mousepad. This is nice because you can have a custom sized mousepad.

Next, cut the flap off of the side of the folder you put the sharpie marks on.

Then, cut out your sharpie marks. Once you have done that, take some tape and tape it do your writing surface. Done!

This one glides a bit more compared to the other ones and is a bit more crisp. The other ones feature a nice cusion, so choose whichever one you think would be best for you! Unfortunately, the images are all broken, but try to d your best with the text. 🙂

Ver. 1

Ver. 2

Wireless Tether with Droid Incredible

So let’s just say that you are driving somewhere and you have your computer (or iPad or iPod touch for that matter) along with your droid incredible. Well now for free (actually, the expense of battery life) you can use your Droid Incredible as a wifi tether, so you can have an iPad on verizon.

Sadly, the speeds are dramatically reduced to a groping 70 kb/s. But I think it’s better than nothing. Can load pages, not so great for downloads and video/audio streaming such as youtube or pandora.

Step 1. Make sure your phone is rooted. Just do steps 1-4 of the tutorial HERE (continue the steps to install android 2.2, if desired!).

Step 2. On your incredible go to THIS LINK (try using chrometophone, review on that soon!)

Step 3. Once the link is downloaded open it and install the application.

Step 4. Open the application on your phone.

Step 5: Press menu and go into the settings and change around your preferences. change the SSID, and add a passphrase. Enable access control if desired.

Step 6: Press the big tether button.

Step 7: On your wifi enabled device go to the network selection and select the nework name that you had entered in the SSID preferences. Enter your asscode and Voila, you can connect to the internet!

One of the cool benefits of this is that you can be on the internet while in a car. Cool, eh?

How-to: Install Android 2.2 (Froyo) on Droid Incredible

NOTE: I DONT TAKE ANY RESPONSIBILITY FOR LOSS OF DATA ON YOUR PHONE!

Thank you droid life, you have a build of froyo for droid incredible. Cool!

The only problem is that you have to be rooted. And from what I hear that is a command line disaster. Here I’ll show you how to root and convert to android 2.2 simply and easily. You’ll have to have a USB cable and an SD card in your phone. Sadly I can’t give you screenshots for the whole process as this can’t be undone. But I’ll give all of the screenshots I can. So here goes!

WARNING: THIS PROCESS MAY OR MAY NOT BE REVERSIBLE. THE ONLY BUG I’VE FOUND IS THAT GPS NO LONGER WORKS. DO NOT PROCEED IF YOU USE THE GPS FREQUENTLY (HOWEVER AN OFFICIAL RELEASE WILL NOT HAVE THAT PROBLEM SO IT SHOULD BE RESOLVED IN A FEW MONTHS)!

Step 1:

Download this zip. Once it has started downloading proceed to step 2.

Step 2:Backup all of the photos and videos from your phone. This process will indeed wipe out your whole phone and make it brand new. I am not responsible for anything that happens to your data!

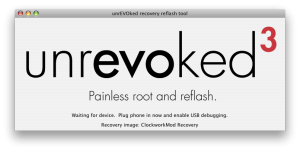
Step 3: Download THIS application for mac, and THIS application for windows. These are the unrevoked.com reflashers.

Step 3a: Open the reflash application on your Mac or PC. I will show the process for mac as I assume that it is similar for Windows.

Step 3b: Plug in your phone to your computer with the USB cable.

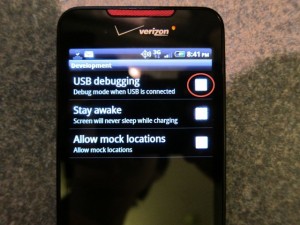
Step 3c: On your incredible go to settings>Applications>Development and enable USB debugging.

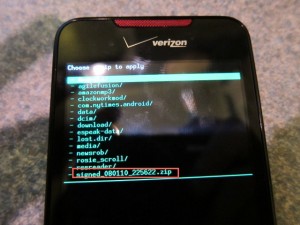
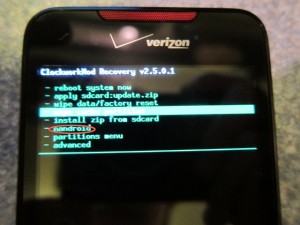
There’s no turning back now, as things will start to happen. Your screen will be flashing terminal commands and all this crazy stuff that I couldn’t explain. Once it is done you should be shown a screen like this (if not, you should be on a white page with skateboarding android logos and select recovery from that list, and if not that, boot up while holding the optical trackpad button and select recovery from that list, and if not that then select bootloader then recovery to get to this list):

Step 4: You are now rooted! At this screen scroll down and select nandroid. from here click backup and let it run. When it is over reboot. I’m *pretty sure* that it should just reboot into 2.1. using nandroid backs up all of your data just in case something goes wrong so you can restore.

Step 5: Your download of the zip should be complete by now. Plug in your incredible to the USB cable (if it isn’t already) and set the USB mode to disk drive. Then copy that zip over to the SD card (NOT THE PHONE STORAGE! to figure this out your phone storage will be 8GB, the other mounted drive is the SD card!). Copy it to the root not under any other subfolders.

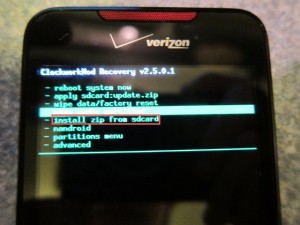
Step 6: Turn off your phone and reboot while holding the optical trackpad.Select bootloader from the list then select recovery. Then select Install zip from SD card.

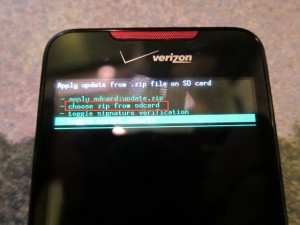
Next, select choose zip from sdcard.

Then, scroll down the list and select the zip that you downloaded.

It will begin to install android 2.2, and this could take a few minutes.

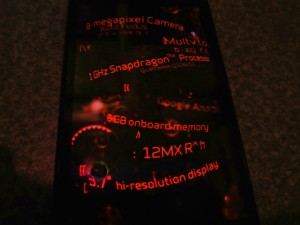
After, reboot and you should see this new boot animation

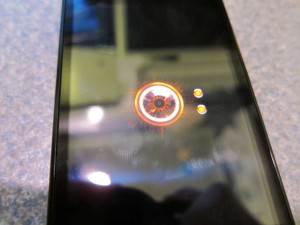
followed by this red eye.

It may hang at the red eye for a few minutes, so don’t freak out (like I did)!

After it boots you will be introduced to android 2.2 with sense. Congratulations! To prove it, go into settings> About Phone> Software. It should say 2.2 under the firmware! Enjoy!

Media Temple (mt)

If you’ve been reading Good Morning Geek since 2008, you may remember the times of maxswisher.blogspot.com. I liked that because it was completely free and easy. Then you may remember the times of goodmorninggeek.wordpress.com. Just as easy and free. Then, you may have realized that goodmorninggeek.com worked. That was just a redirect.

I was getting tired of not having much flexibility and storage (I was on Hurricane Electric which gave me 5GB/mo.), and because I was now earning some more money, I decided to get some real hosting of my own.

After asking around at the Teens In Tech conference, I concluded that Media Temple would be right for me.

I signed up for the Grid Server (gs) plan, which is 100GB, $20/mo (or $200/yr), and 1TB of bandwidth.
I had no idea that those $20 gave me SO MUCH.
I got

  • Email with built in spam filtering
  • FTP
  • 24/7 help

But there were 2 things that really made it for me.

1-Click applications

Using this service I installed wordpress on this domain with a FEW (:O) clicks. I then imported the posts from goodmorninggeek.wordpress.com. You can install wordpress, drupal, and zen-cart with 1 click.

Multiple domains to one service

Because it is grid server, I can have different domains linking to different directories on a single hosting. That means that maxswisher.com, goodmorninggeek.com, teentechie.net, and every sub-domain is on a single $20/mo. hosting plan.

Definitely recommend this to everybody who is looking to host their own website. In fact, skribit (they power the suggestions tab on the left) uses (mt). Who knew?!

http://mediatemple.net

MindNode

We all have thoughts to organize. Mind maps are a great way of doing so, but a lot of software can be clunky, expensive, or hard to figure out. MindNode is a free, functional, and simple way of creating mind maps.

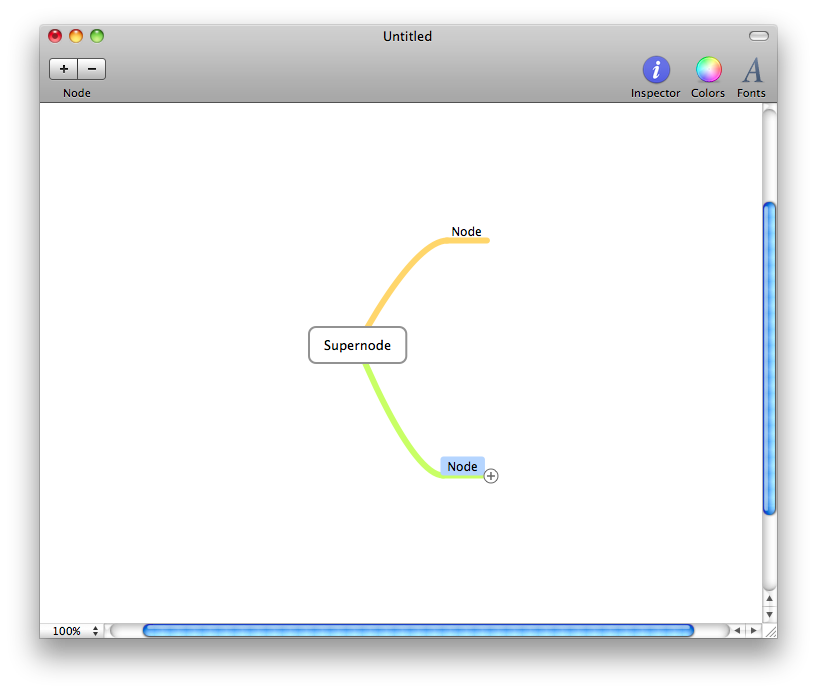
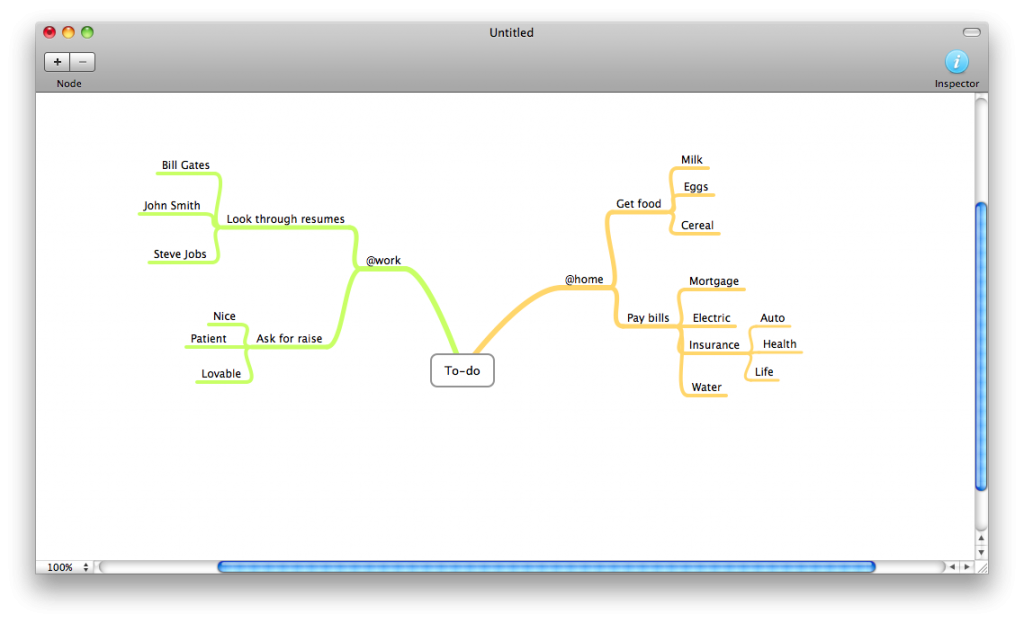
Upon opening the app, you will be greeted with what is called the “supernode”. Every different branch coming off of the supernode is called a node.  Click and drag the plus off of the supernode to create a node, and then you can type to name the node. When hovering over a node there will be a plus so you can create nodes off of other nodes.

So you can organiza thoughts and ideas for things like to-do lists, projects, and more. Here’s an example for a to-do list:

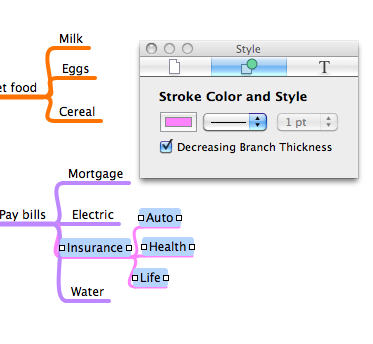
You can also configure the color of the nodes using the inspector (the i in the top right), which makes it easier to visualize.

As you can tell, the inspector only applies to items that are highlighted. And to highlight an item, you guessed itL you CLICK on it. :O

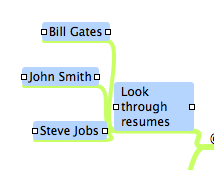
If you look closely, there are white squares to the left and right of every highlighted node (when you highlight a node that has nodes coming off of it, all of the “sub-nodes” are also highlighted). Click and drag one of the squares to resize the node to change text wrapping.

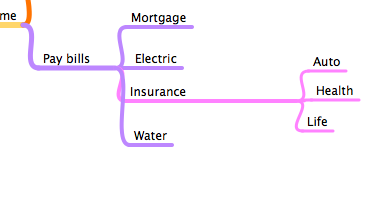
It can also be used to separate sub-nodes from other nodes so you don’t get them confused. If you use both this and the ability to change the color, you can easily distinguish the sub-nodes.

In addition to being simple, powerful, and free, MindNode can export a document to

Click Here to download an example of the PDF.

Here is what the text outline looks like:

Thanks to it’s simplicity and flexibility, MindNode can be used for many different purposes.

MindNode Homepage

MindNode Download

Create a WiFi network with your Mac

I am currently in Japan, and in the Hotel we have no wireless in our room. We do have a wired connection, but we have iPads that need WiFi. Here’s how to take your mac and turn it into a WiFi network in a few steps.

1. Plug in ethernet

into your Mac. Make sure the internet connection is working by visiting a few sites. Many hotels have pages where you have to agree to terms. Make sure you agree and/or pay before proceeding.

2. Turn on internet sharing

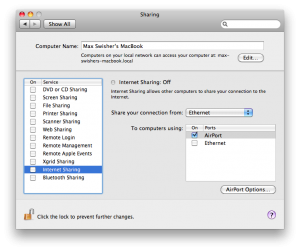
Open up System Preferences and click on Sharing. In the list, click on Internet Sharing, but don’t click the checkbox. Configure it so it looks like this:

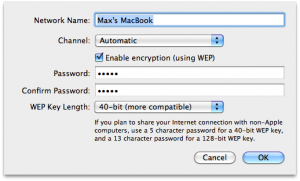
Then, click on AirPort options in the bottom right. Here you can put in the name of your Wifi network and a password if desired.

Click OK, and now you can click the checkbox next to internet sharing.

3. Connect your devices

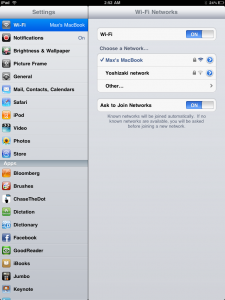
On your WiFi enabled devices you should be able to see a WiFi network with the name you put in under Airport Options in step 2. Connect to it and enter a password if you configured one.

Tada! Now your devices should be able to browse the internet. Cool! Be aware that you can’t be on a WiFi network on your Mac while sharing your internet.

Use it wisely!

Change your Google background

If you’ve been sing bing instead of google (I sure hope not, google overpowers all), you may have noticed that there is a beautiful background picture that changes daily on the hmepage. Google is finally allowing some more customization, and you can add your own picture to the google background! Here’s how:

1. Sign in to google

Go to google.com and click sign in on the top right. Enter your google username and password and you will be signed in and redirected to the main Google page.

2. Select a photo

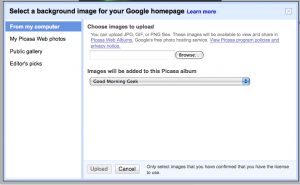
If you want to upload a photo from your computer, it needs to be more than 800X600. In the bottom left, click change background image. You will be given the options to get the photo from your computer, picasa albums, or public feed stuff.

You can click browse to select a file on your computer’s hard drive. Then click Upload and your photo will be added to a picasa album and applied behind your Google logo. But if you don’t find a background you think is fitting, you can select a picture from the picasa public gallery and picasa editor’s choice.  Now beware that the Google Logo will be white, so if you want it to stand out make sure you select a picture that is not white or yellow. Now beware that the picture will only appear if you are logged into your account.